Git in the terminal
The command-line terminal in Notebook.link includes an implementation of git called
git2cpp that is compiled to WebAssembly and runs entirely
in the web browser.
It can be used to create local repositories using git init and to interact with remote repositories
such as github and gitlab using git clone, git fetch and git push.
To demonstrate its use in Notebook.link, here are some walkthroughs of typical git workflows.
Clone a remote repository and make local changes
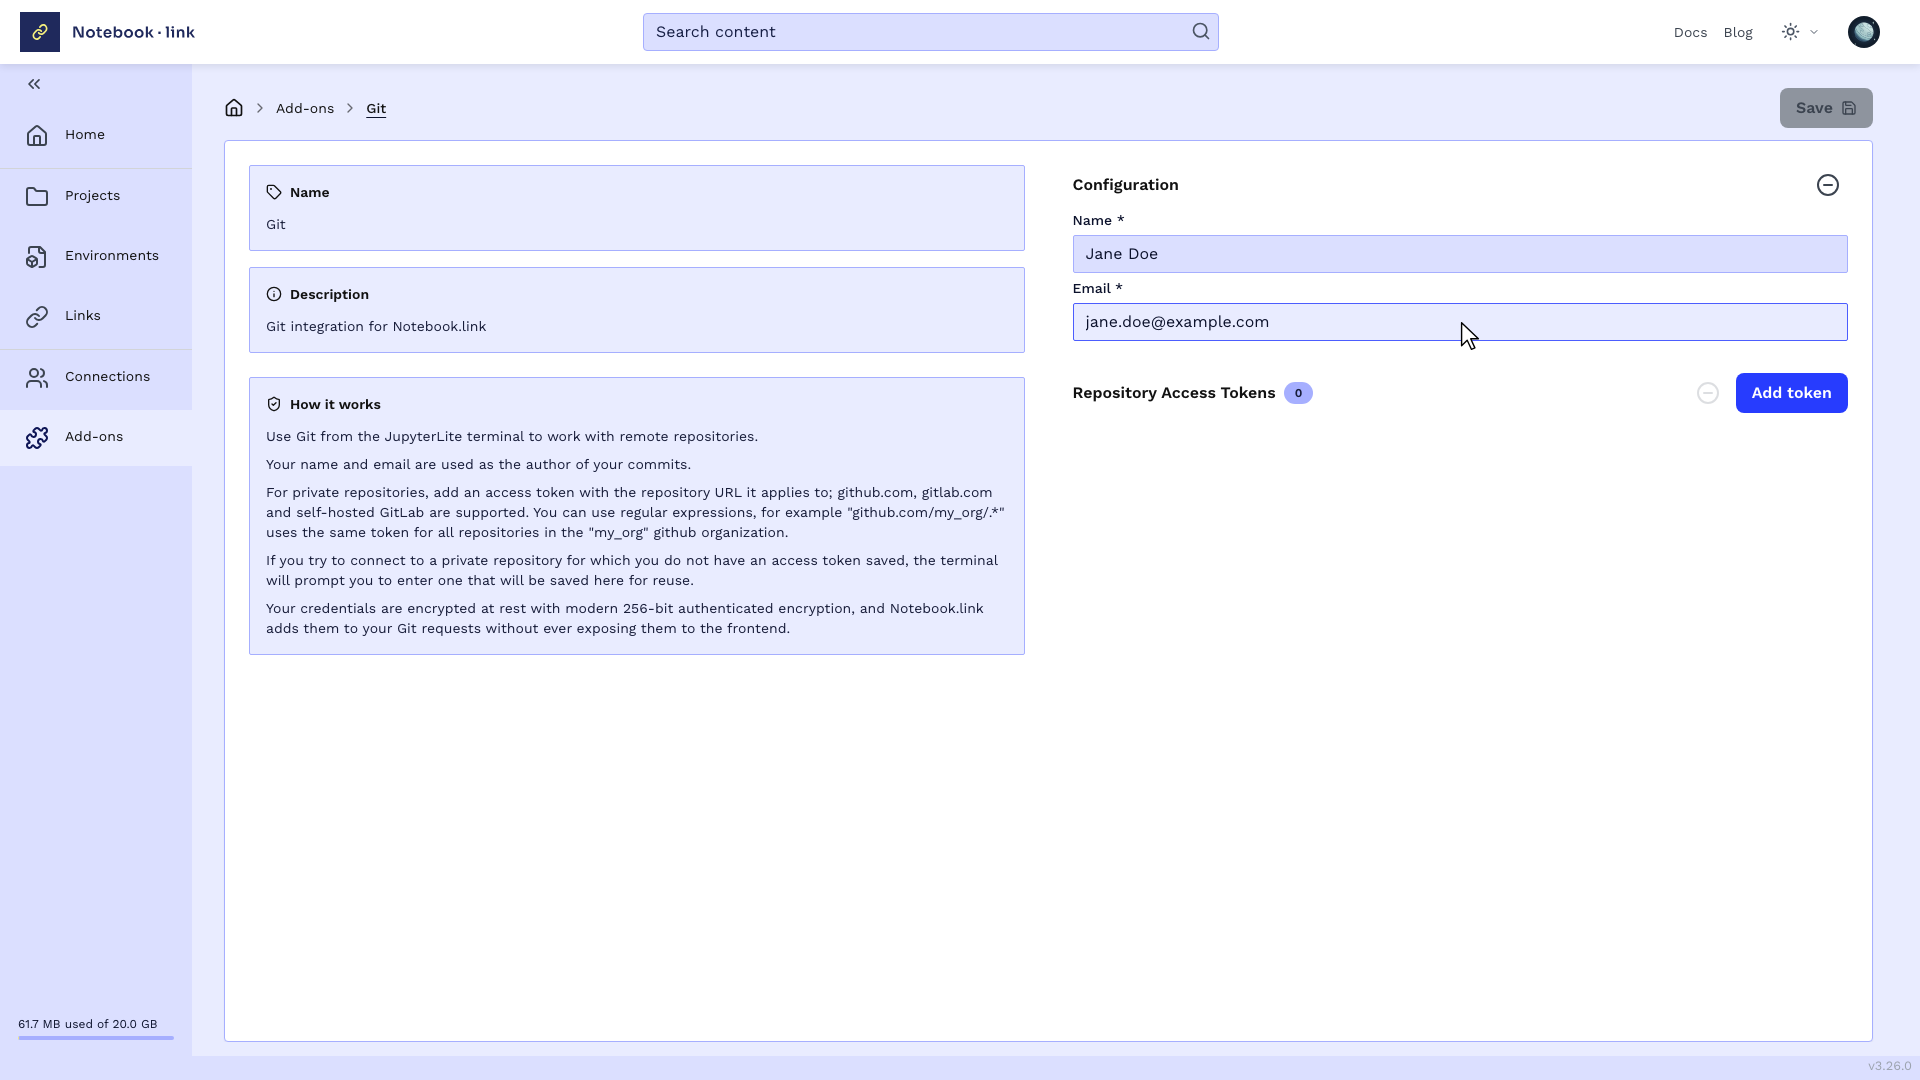
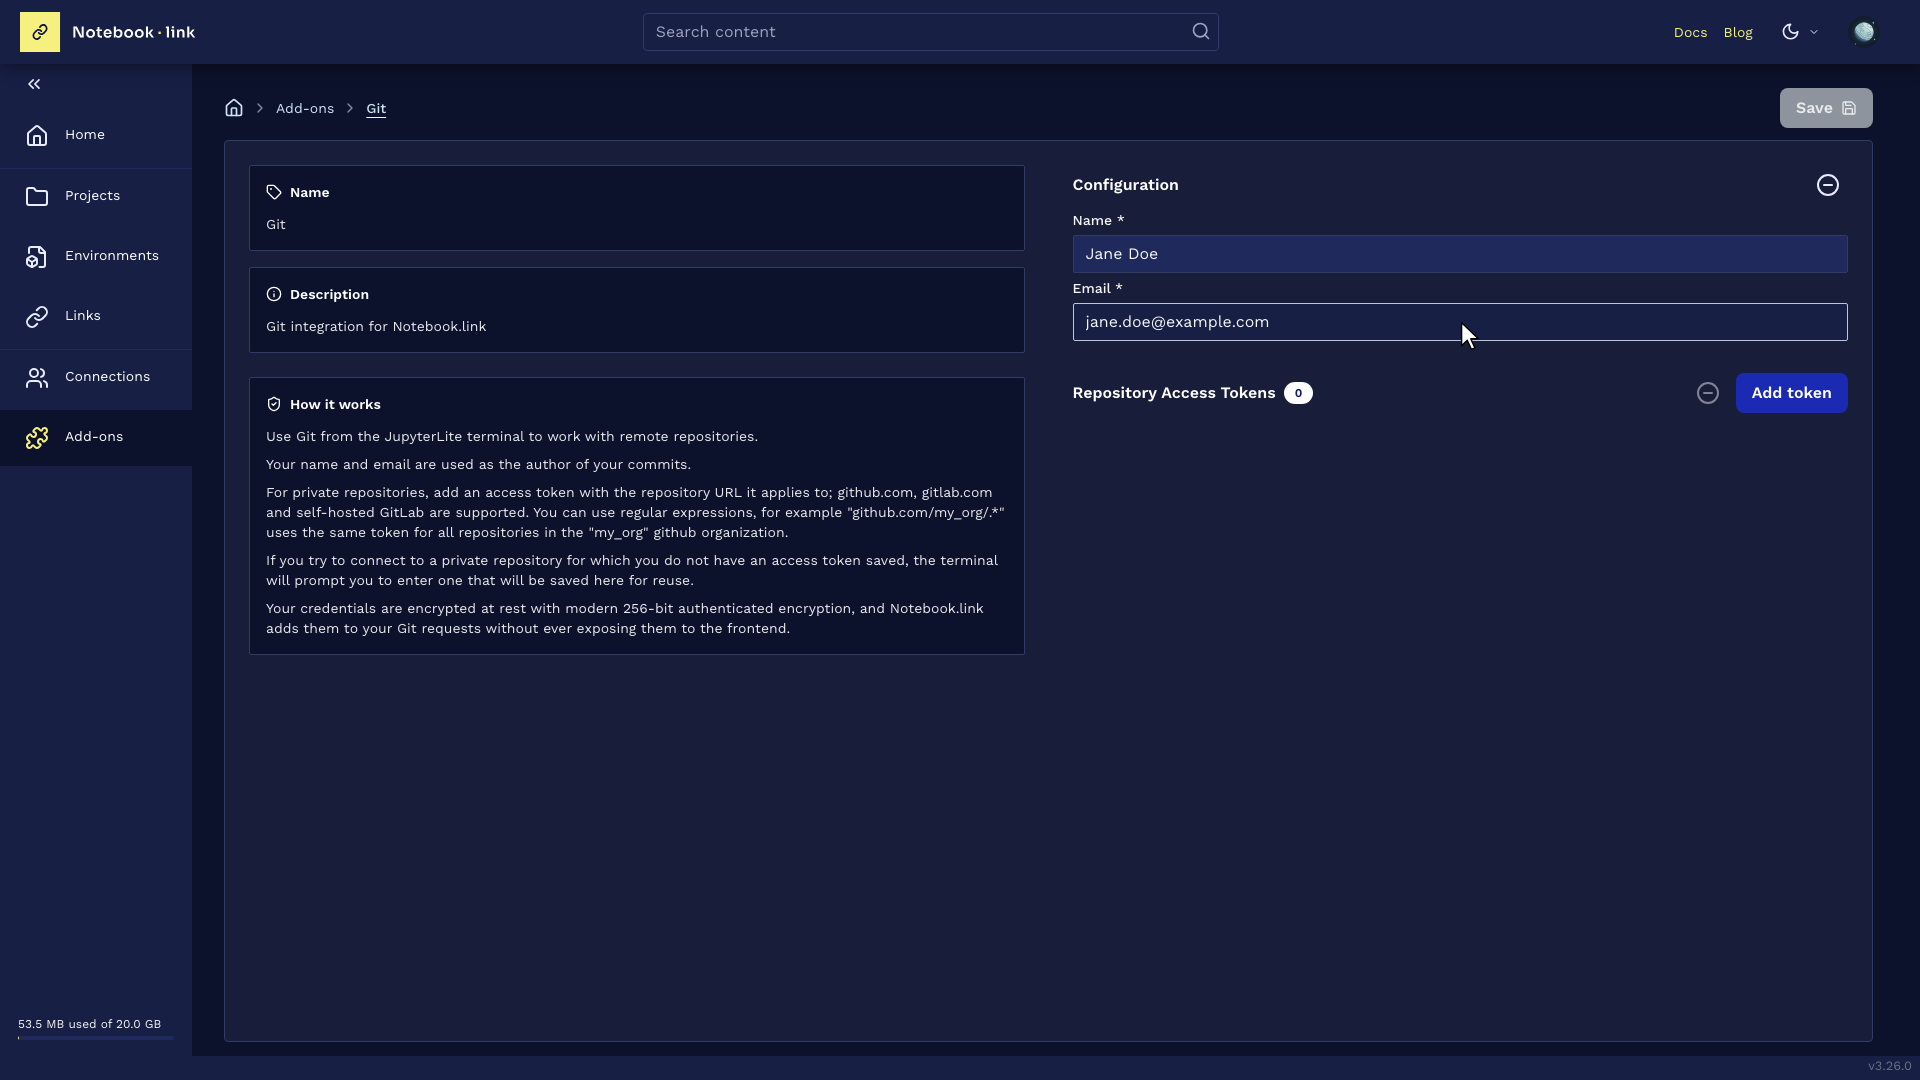
- First open the Git Add-on, enter the name and email address to associate with commits as shown below, and save it.
- Create a new Project in the usual way and enable the Git Add-on by toggling the switch on the bottom right as shown below.
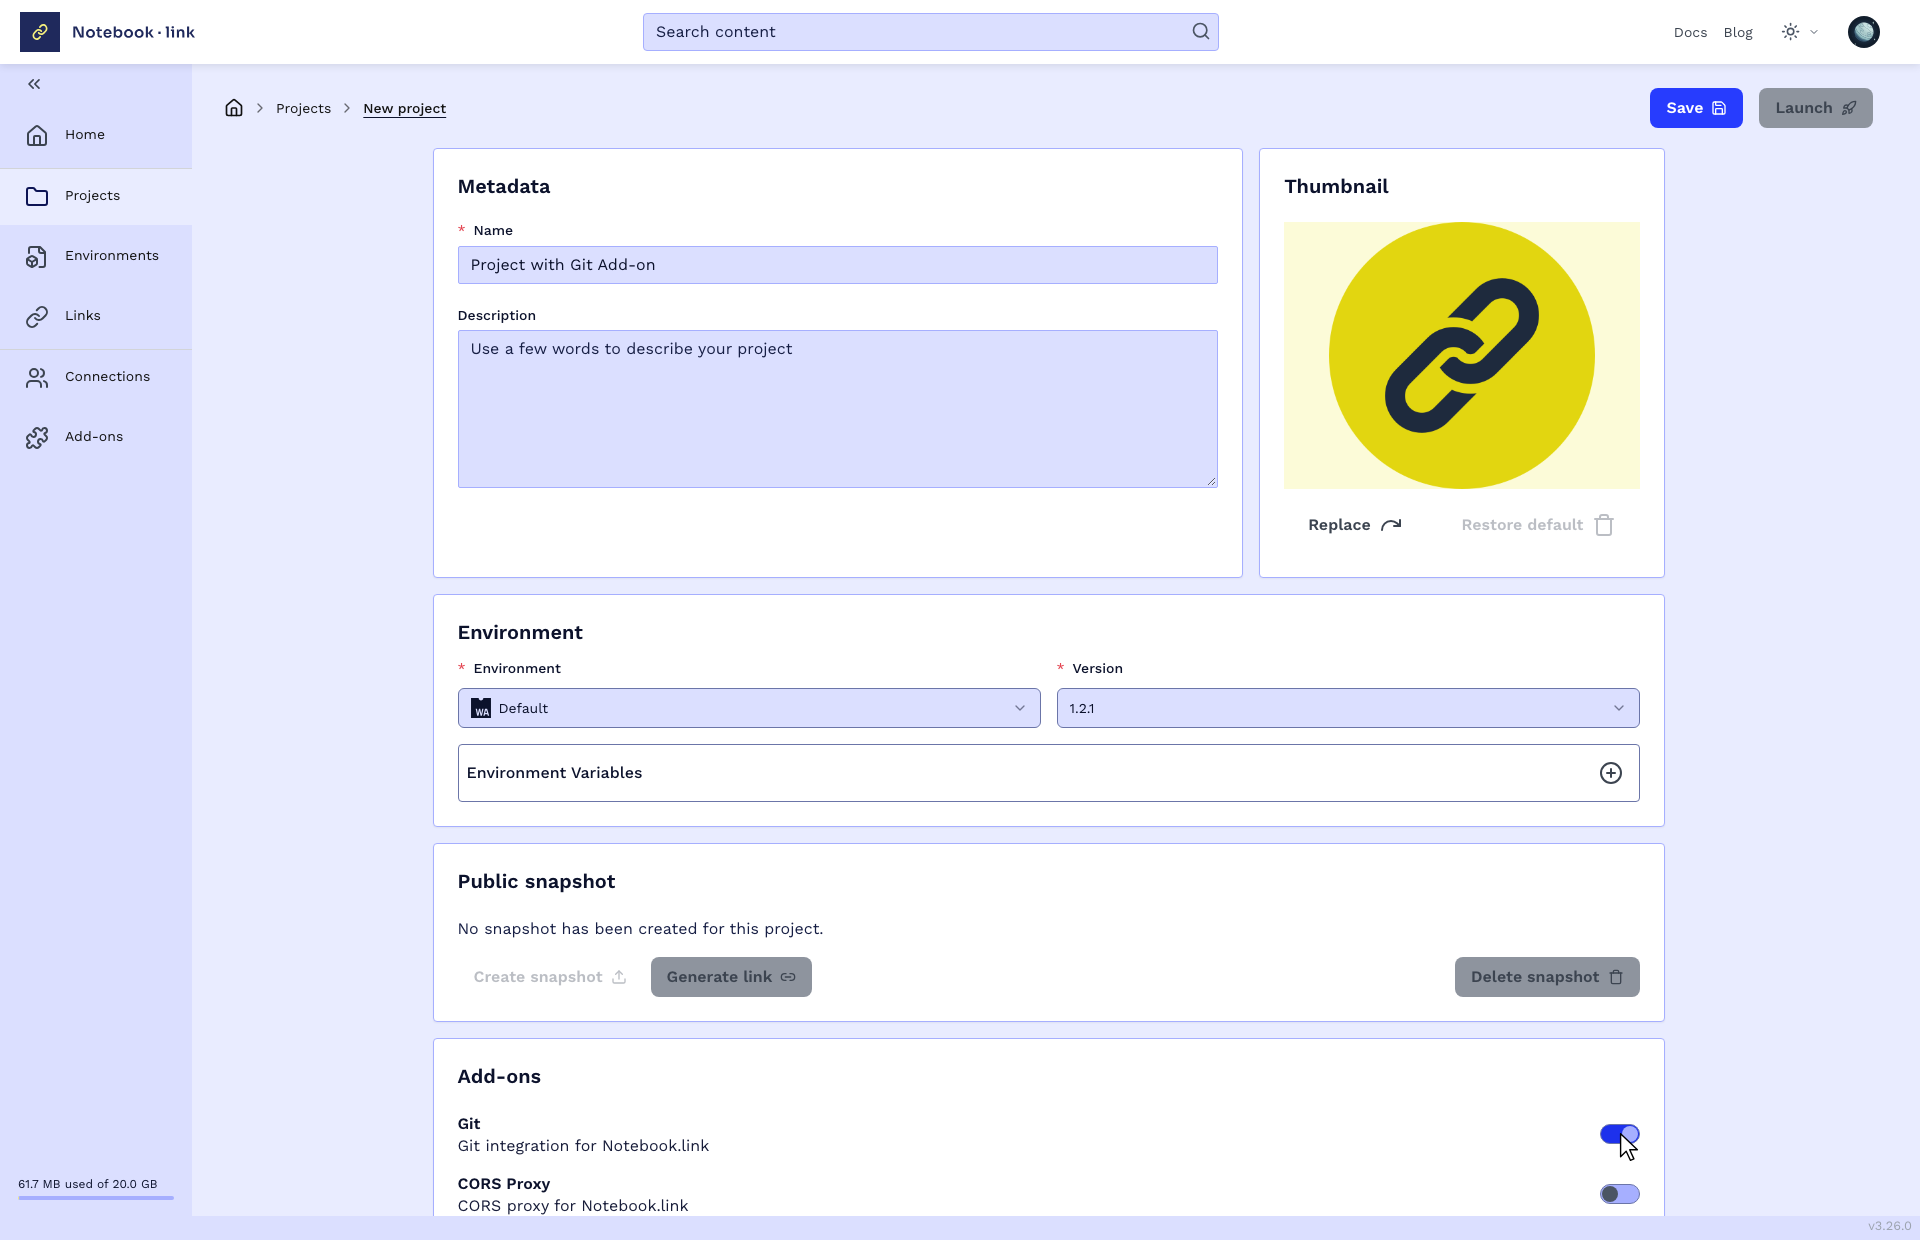
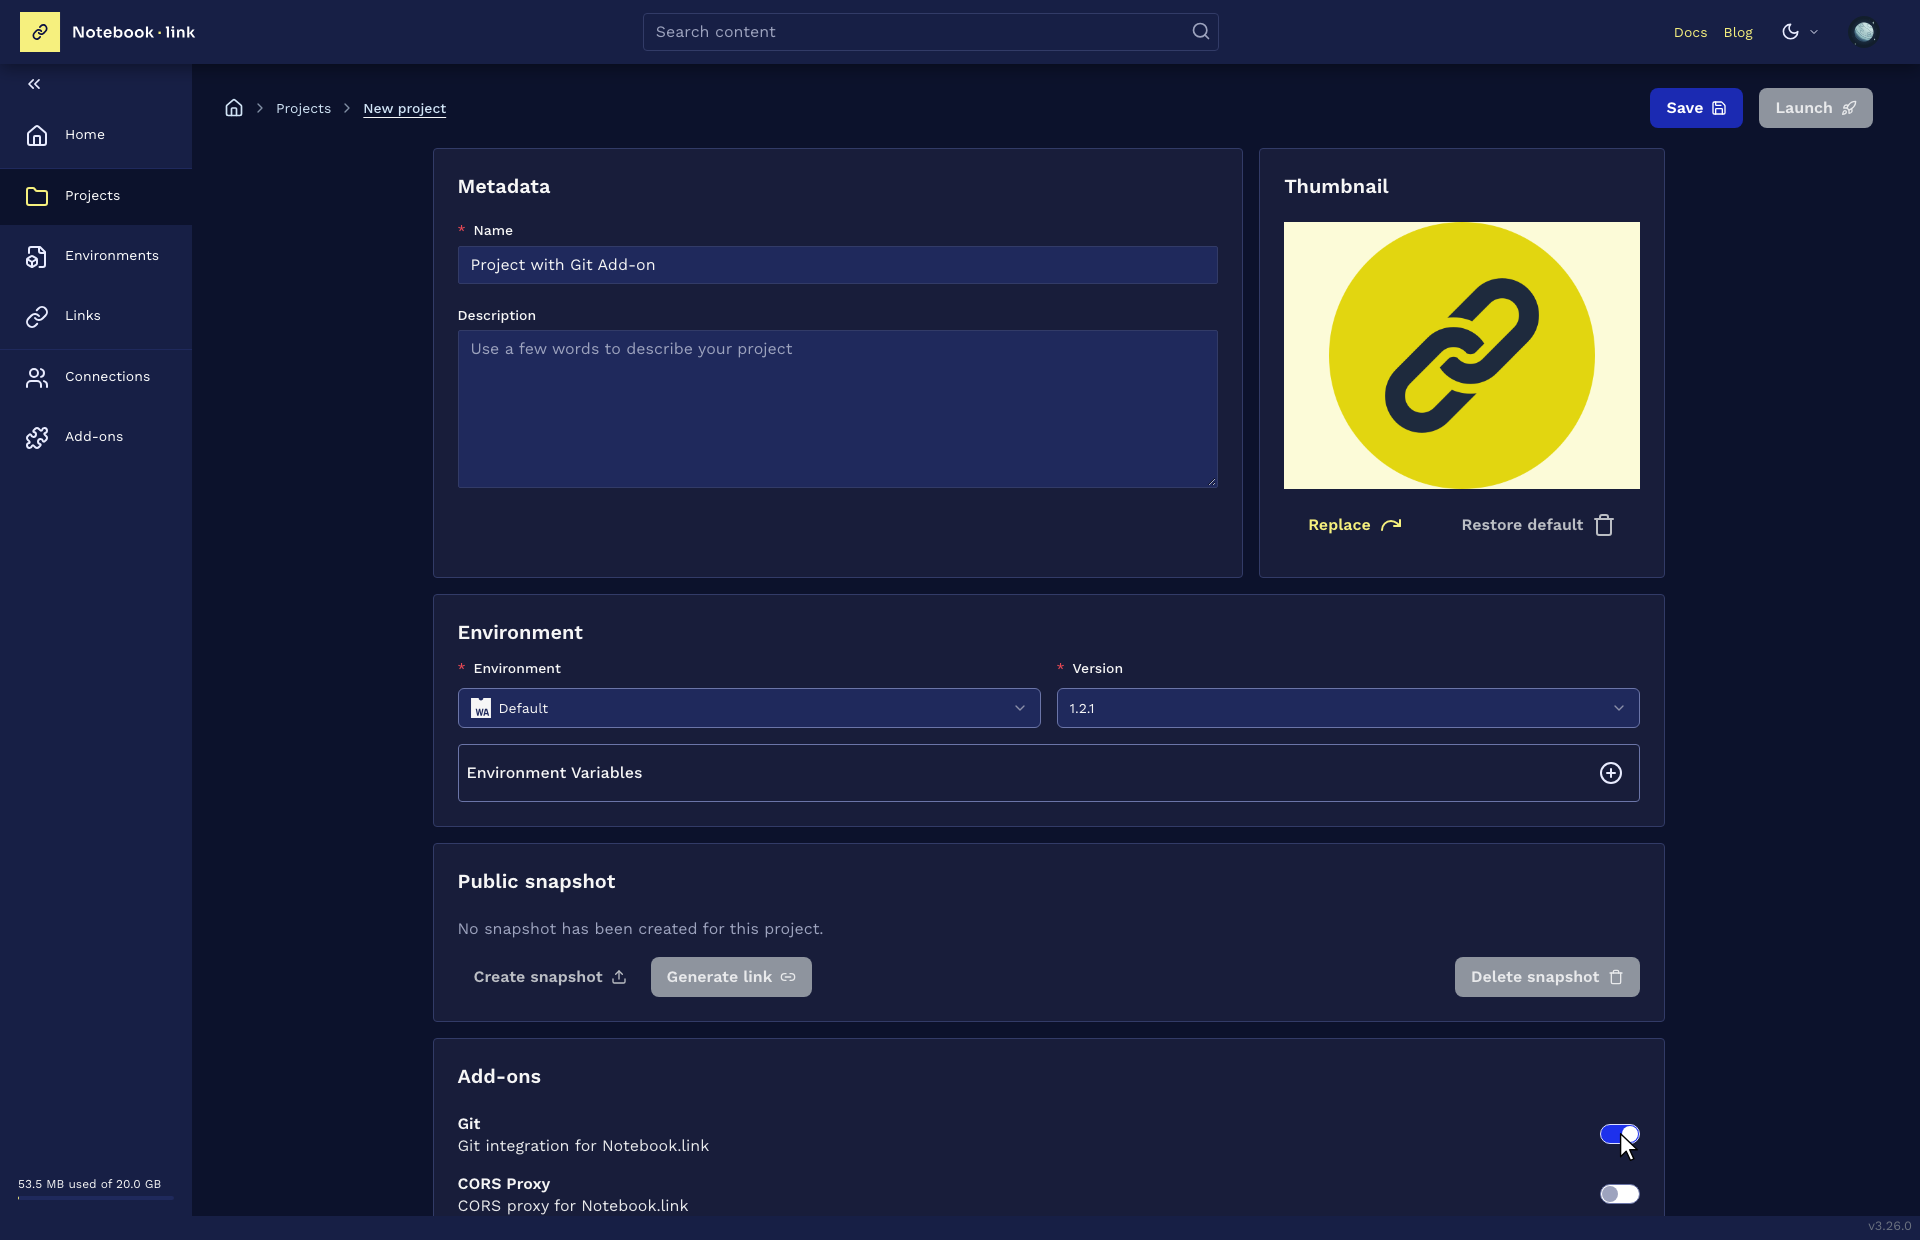
- Save and launch the Project.
The remaining steps are shown in the video below.
- Launch a terminal.
git clonea remote repository from github. This is a public repository so no authentication is required.cdinto the new repository directory.git statusto confirm it is on themainbranch.git logto show some of the commit history.- Checkout a new branch called
temp-branchbased onmain. - Add some extra text to the top of
README.mdusingvim, and save the changes. head -2 README.mdto confirm the file changes.git statusto show thatgitis aware of the file change.git addthe changed file.git committo commit the changes, which prompts for a commit message.git statusto confirm it is on thetemp-branchand the change has been committed.git log -n1to show the commit message.
Use a private repository with authentication
This is a similar workflow to that above except that it clones a private remote repository that requires an authentication token. It also pushes a new branch to that remote repository using the same authentication token without having to re-enter it.
It assumes you have already configured and enabled the Git Add-on in your Project (steps 1 and 2 in the workflow above). The remaining steps are shown in the video below.
- Launch a terminal.
git clonea private remote repository from github.- The attempt to clone fails, with github replying that authentication is required. Notebook.link therefore displays an 'Enter Git credentials' dialog. The user enters their username and access token and clicks the Submit button. Note that certain types of access token such as github Personal Access Tokens ignore the username provided it is not an empty string.
- The
clonesucceeds, showing that the token is accepted. If the token is not accepted the 'Enter git credentials' dialog will be displayed again; if the dialog is cancelled theclonewill be aborted. cdinto the new repository directory.git fetchto fetch updates from the remote. This is done here to show that the access token was automatically reused rather than a new 'Enter git credentials' dialog being displayed again.ls -lto show there are just two files in the local repository.- Checkout a new branch with a randomised name, to not conflict with any existing branches on the remote.
- Use
echoto write some text to a new file callednew.txt. ls -lto show the new file exists.cat new.txtto confirm the content of the new file.git addthe new file.git committo commit the changes, which prompts for a commit message.git pushall branches to the remote, which succeeds showing that the access token was automatically reused rather than a new 'Enter git credentials' dialog being displayed again.
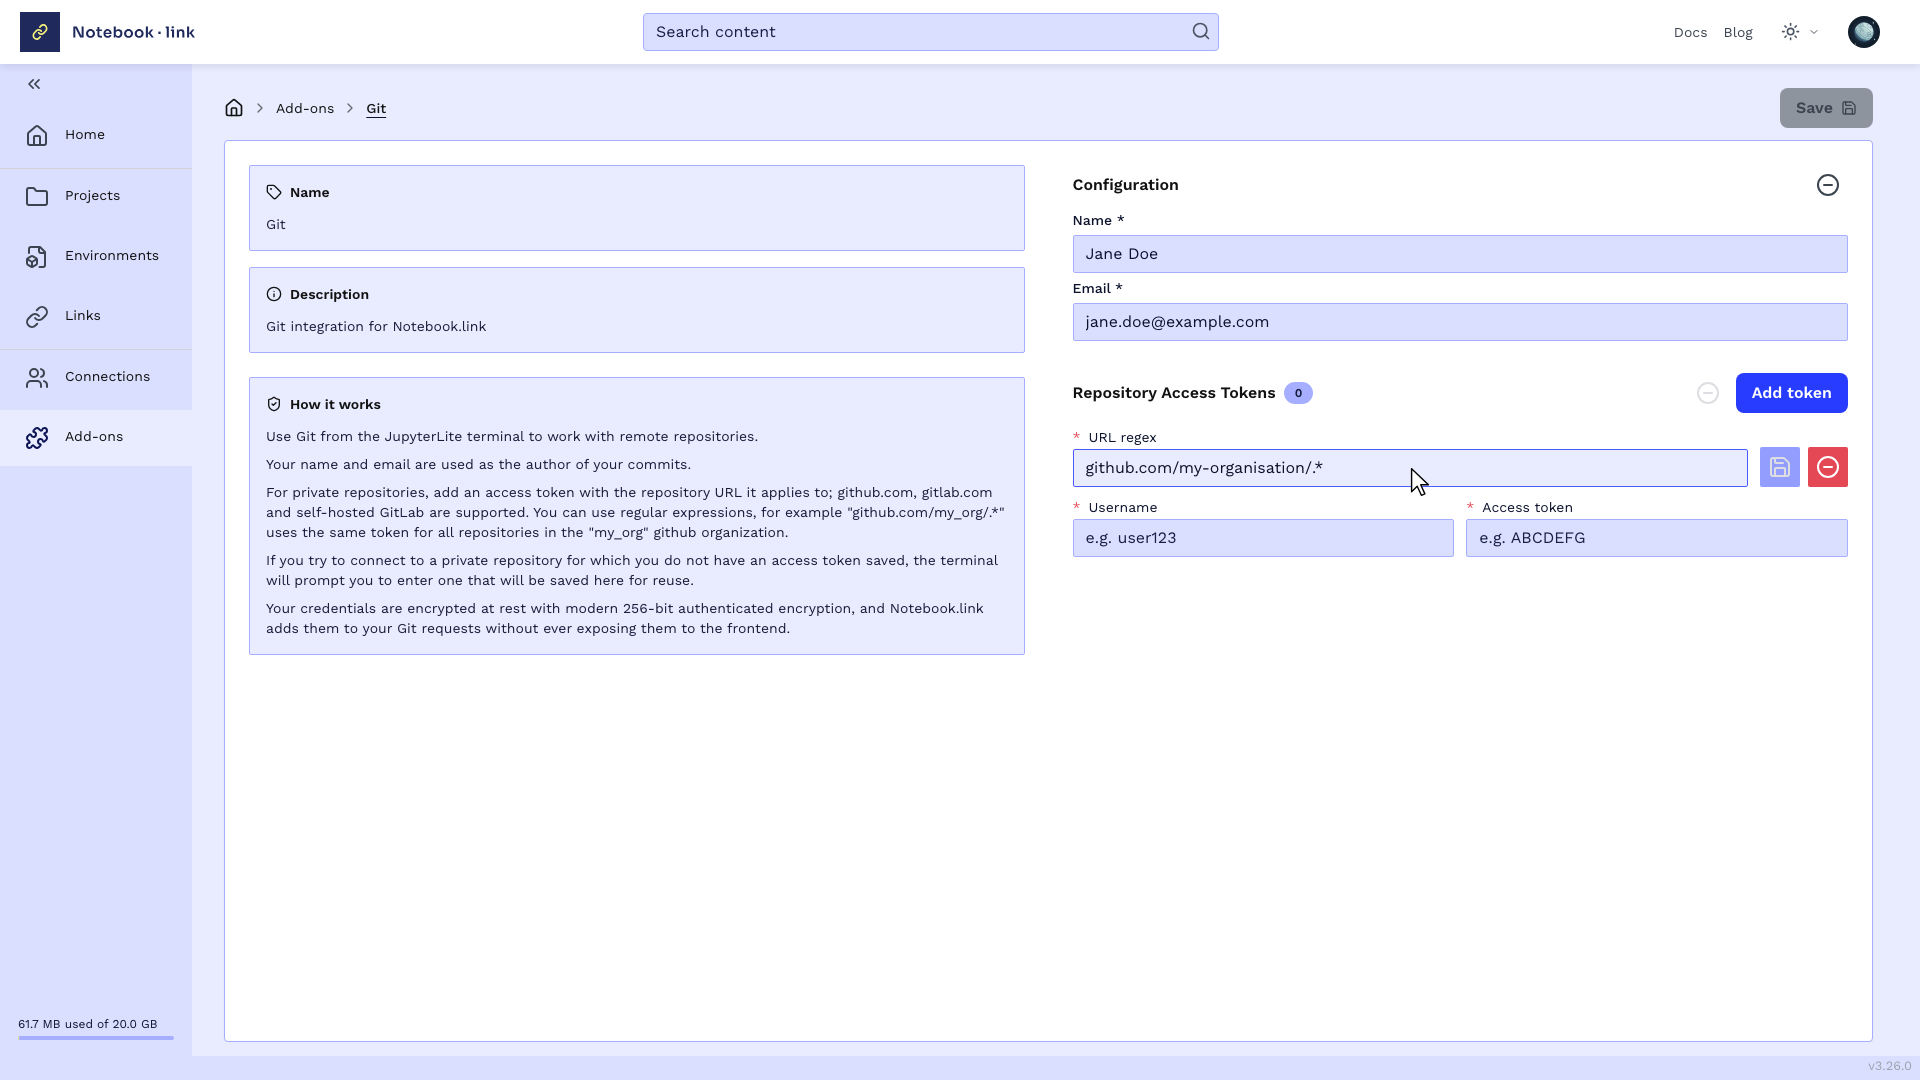
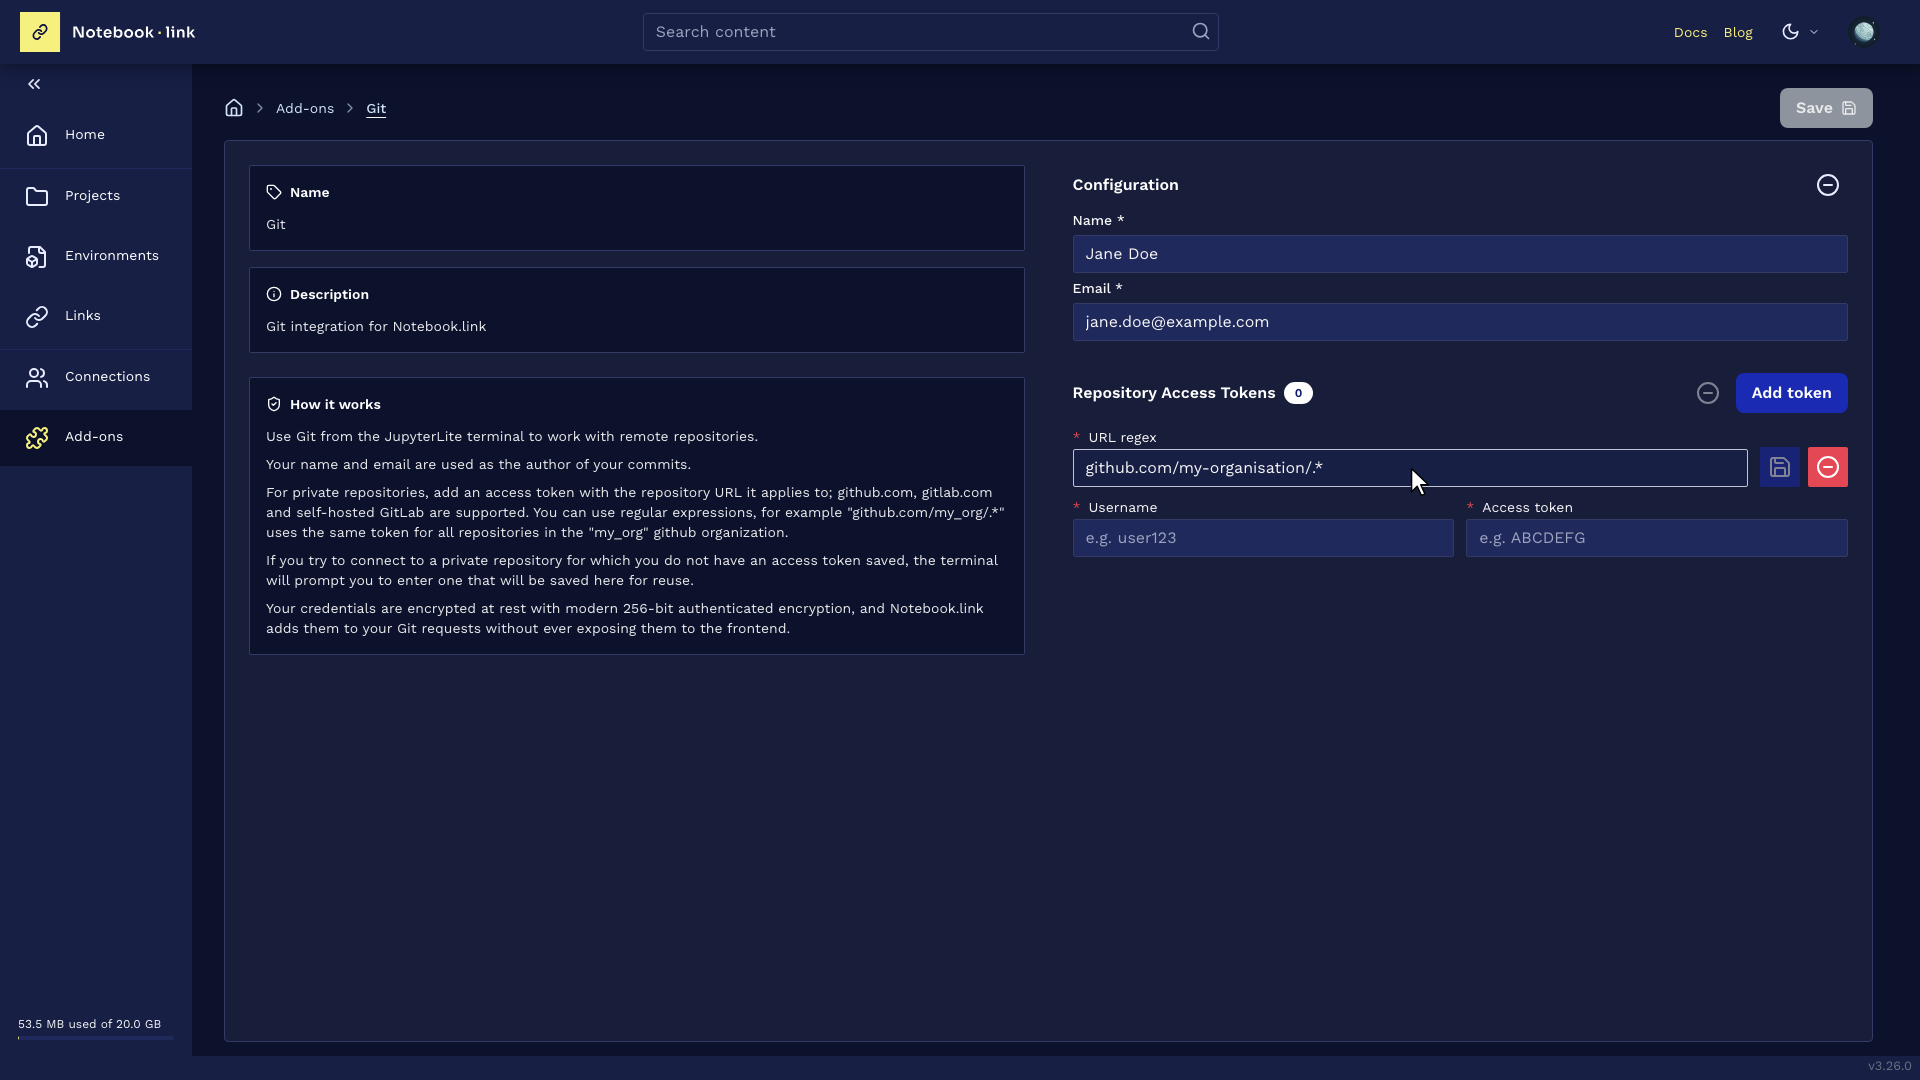
- Return to the Git Add-on page, as shown below, to see that the access token for the remote repository has been stored in the Notebook.link secure vault. This token can be deleted from here but it can not be viewed as that would be insecure.
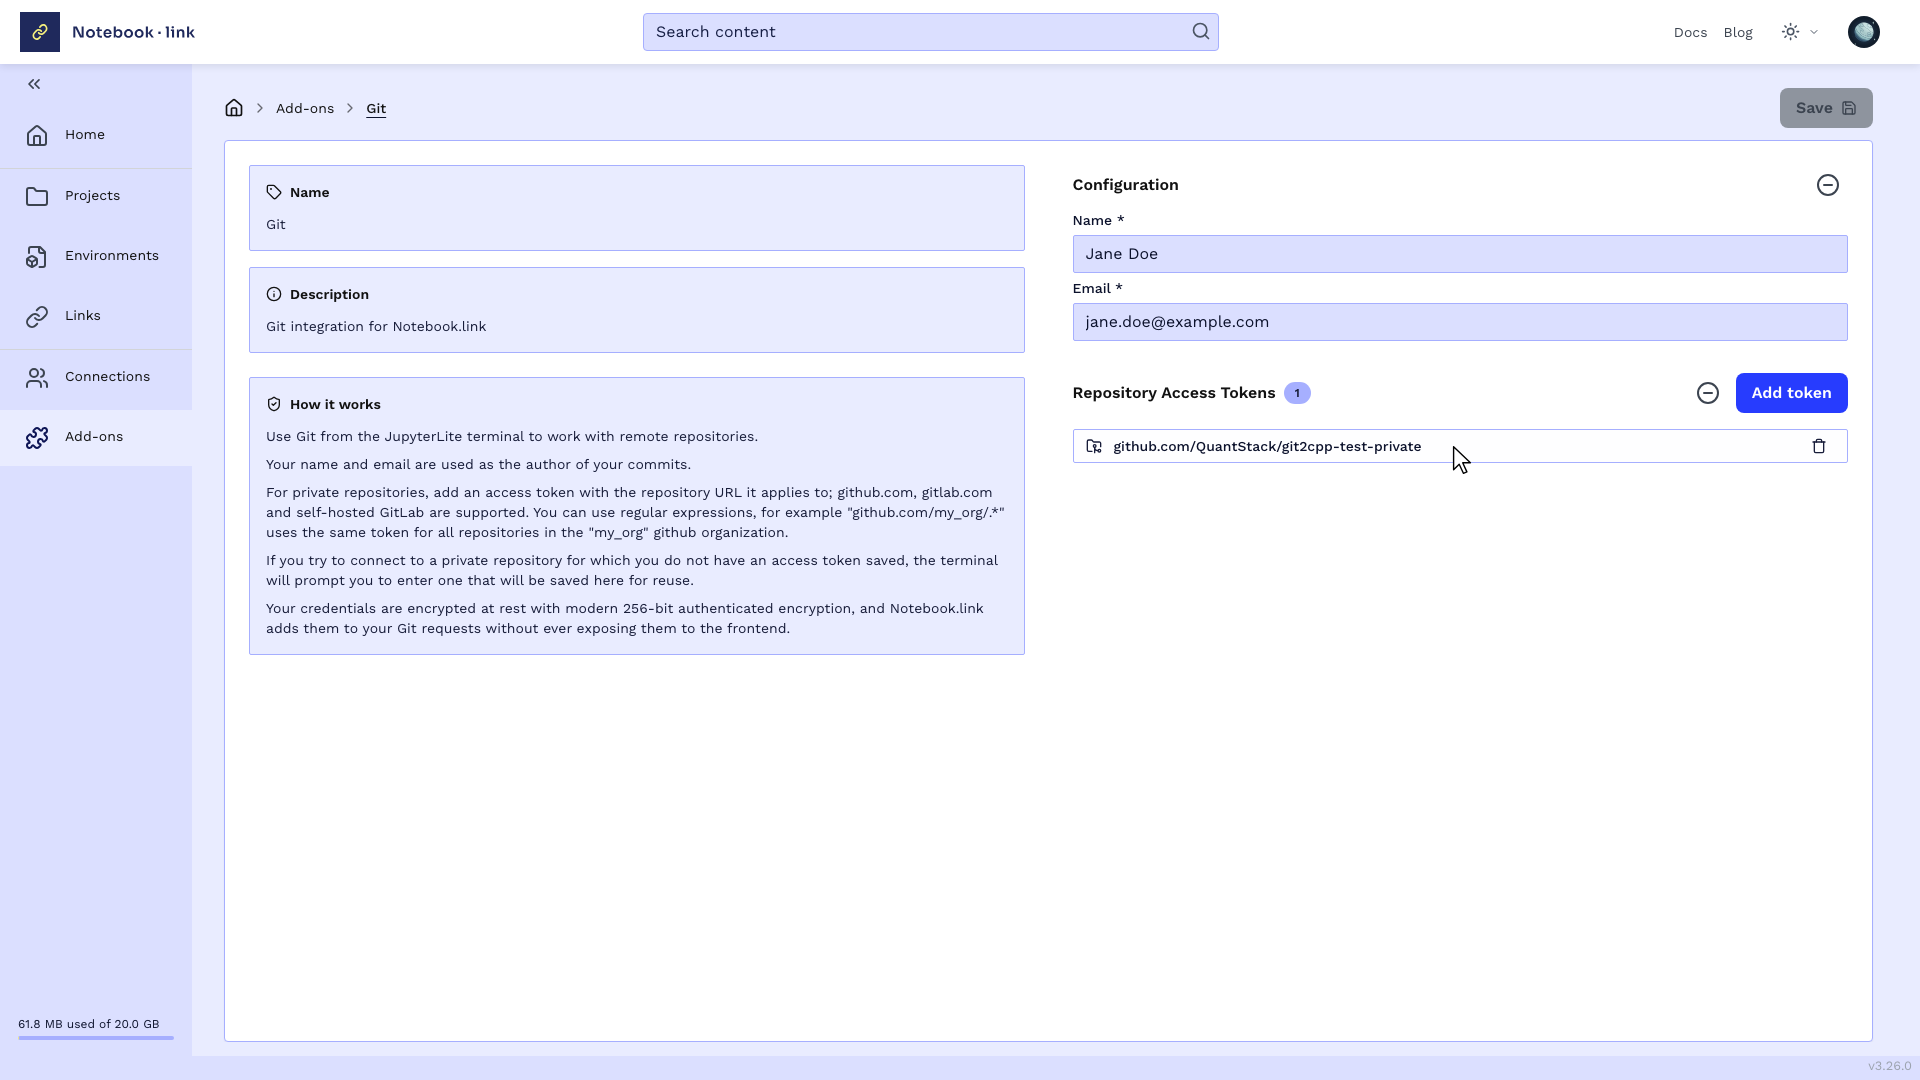
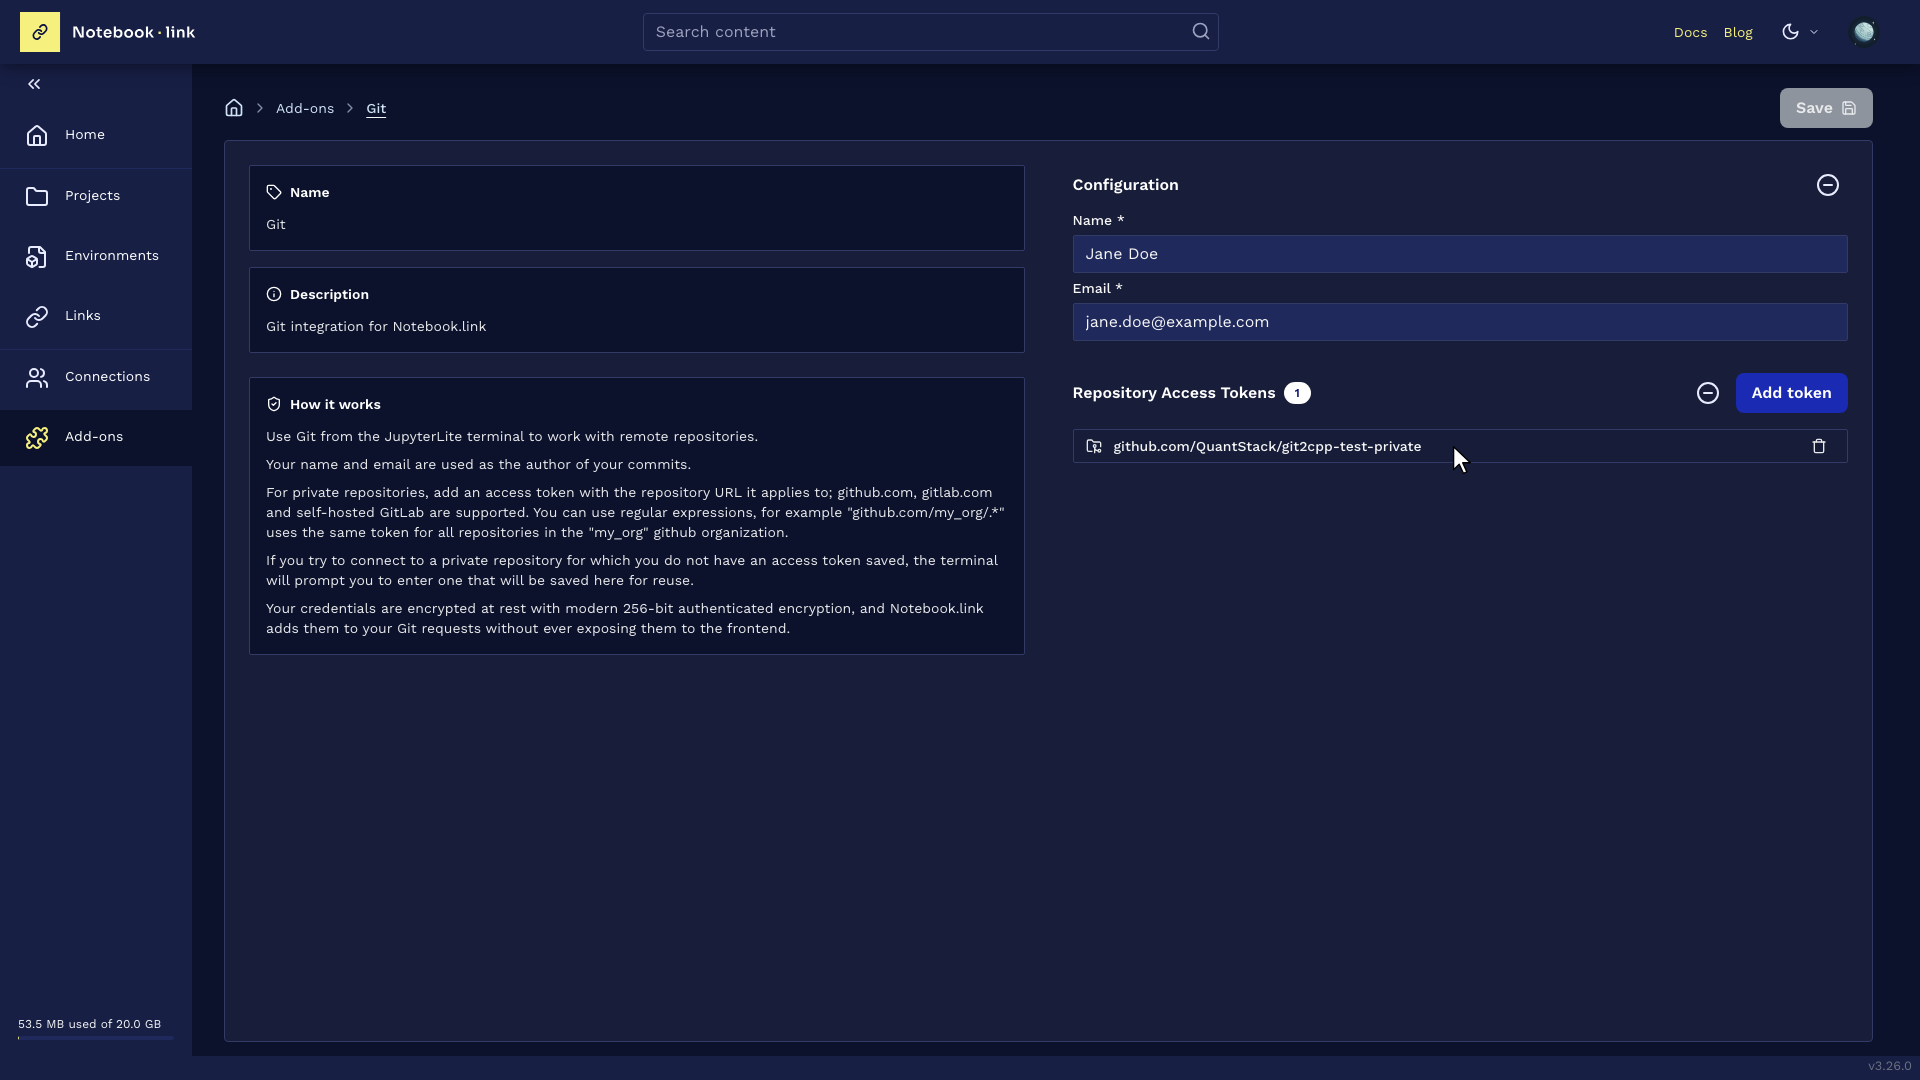
To add a token manually, click the Add token button on the Git Add-on page and fill out the three fields 'URL regex', 'Username' and 'Access token' before saving. Using a regex for the URL lets a single token authenticate multiple remote repositories. A stored token can be deleted with the 'x' to its right, and all tokens can be deleted together using the minus sign next to the 'Add token' button.