Discover the application
This guide offers an overview of the various pages within the Notebook.link application.
Notebook.link website and sign-in
You can sign in from the Notebook.link website by clicking Try Notebook.link, which will redirect you to the sign-in page. If you don’t have an account yet, you can create one there.
You can either create an account with an email address and a password or use your GitHub account.
Overview
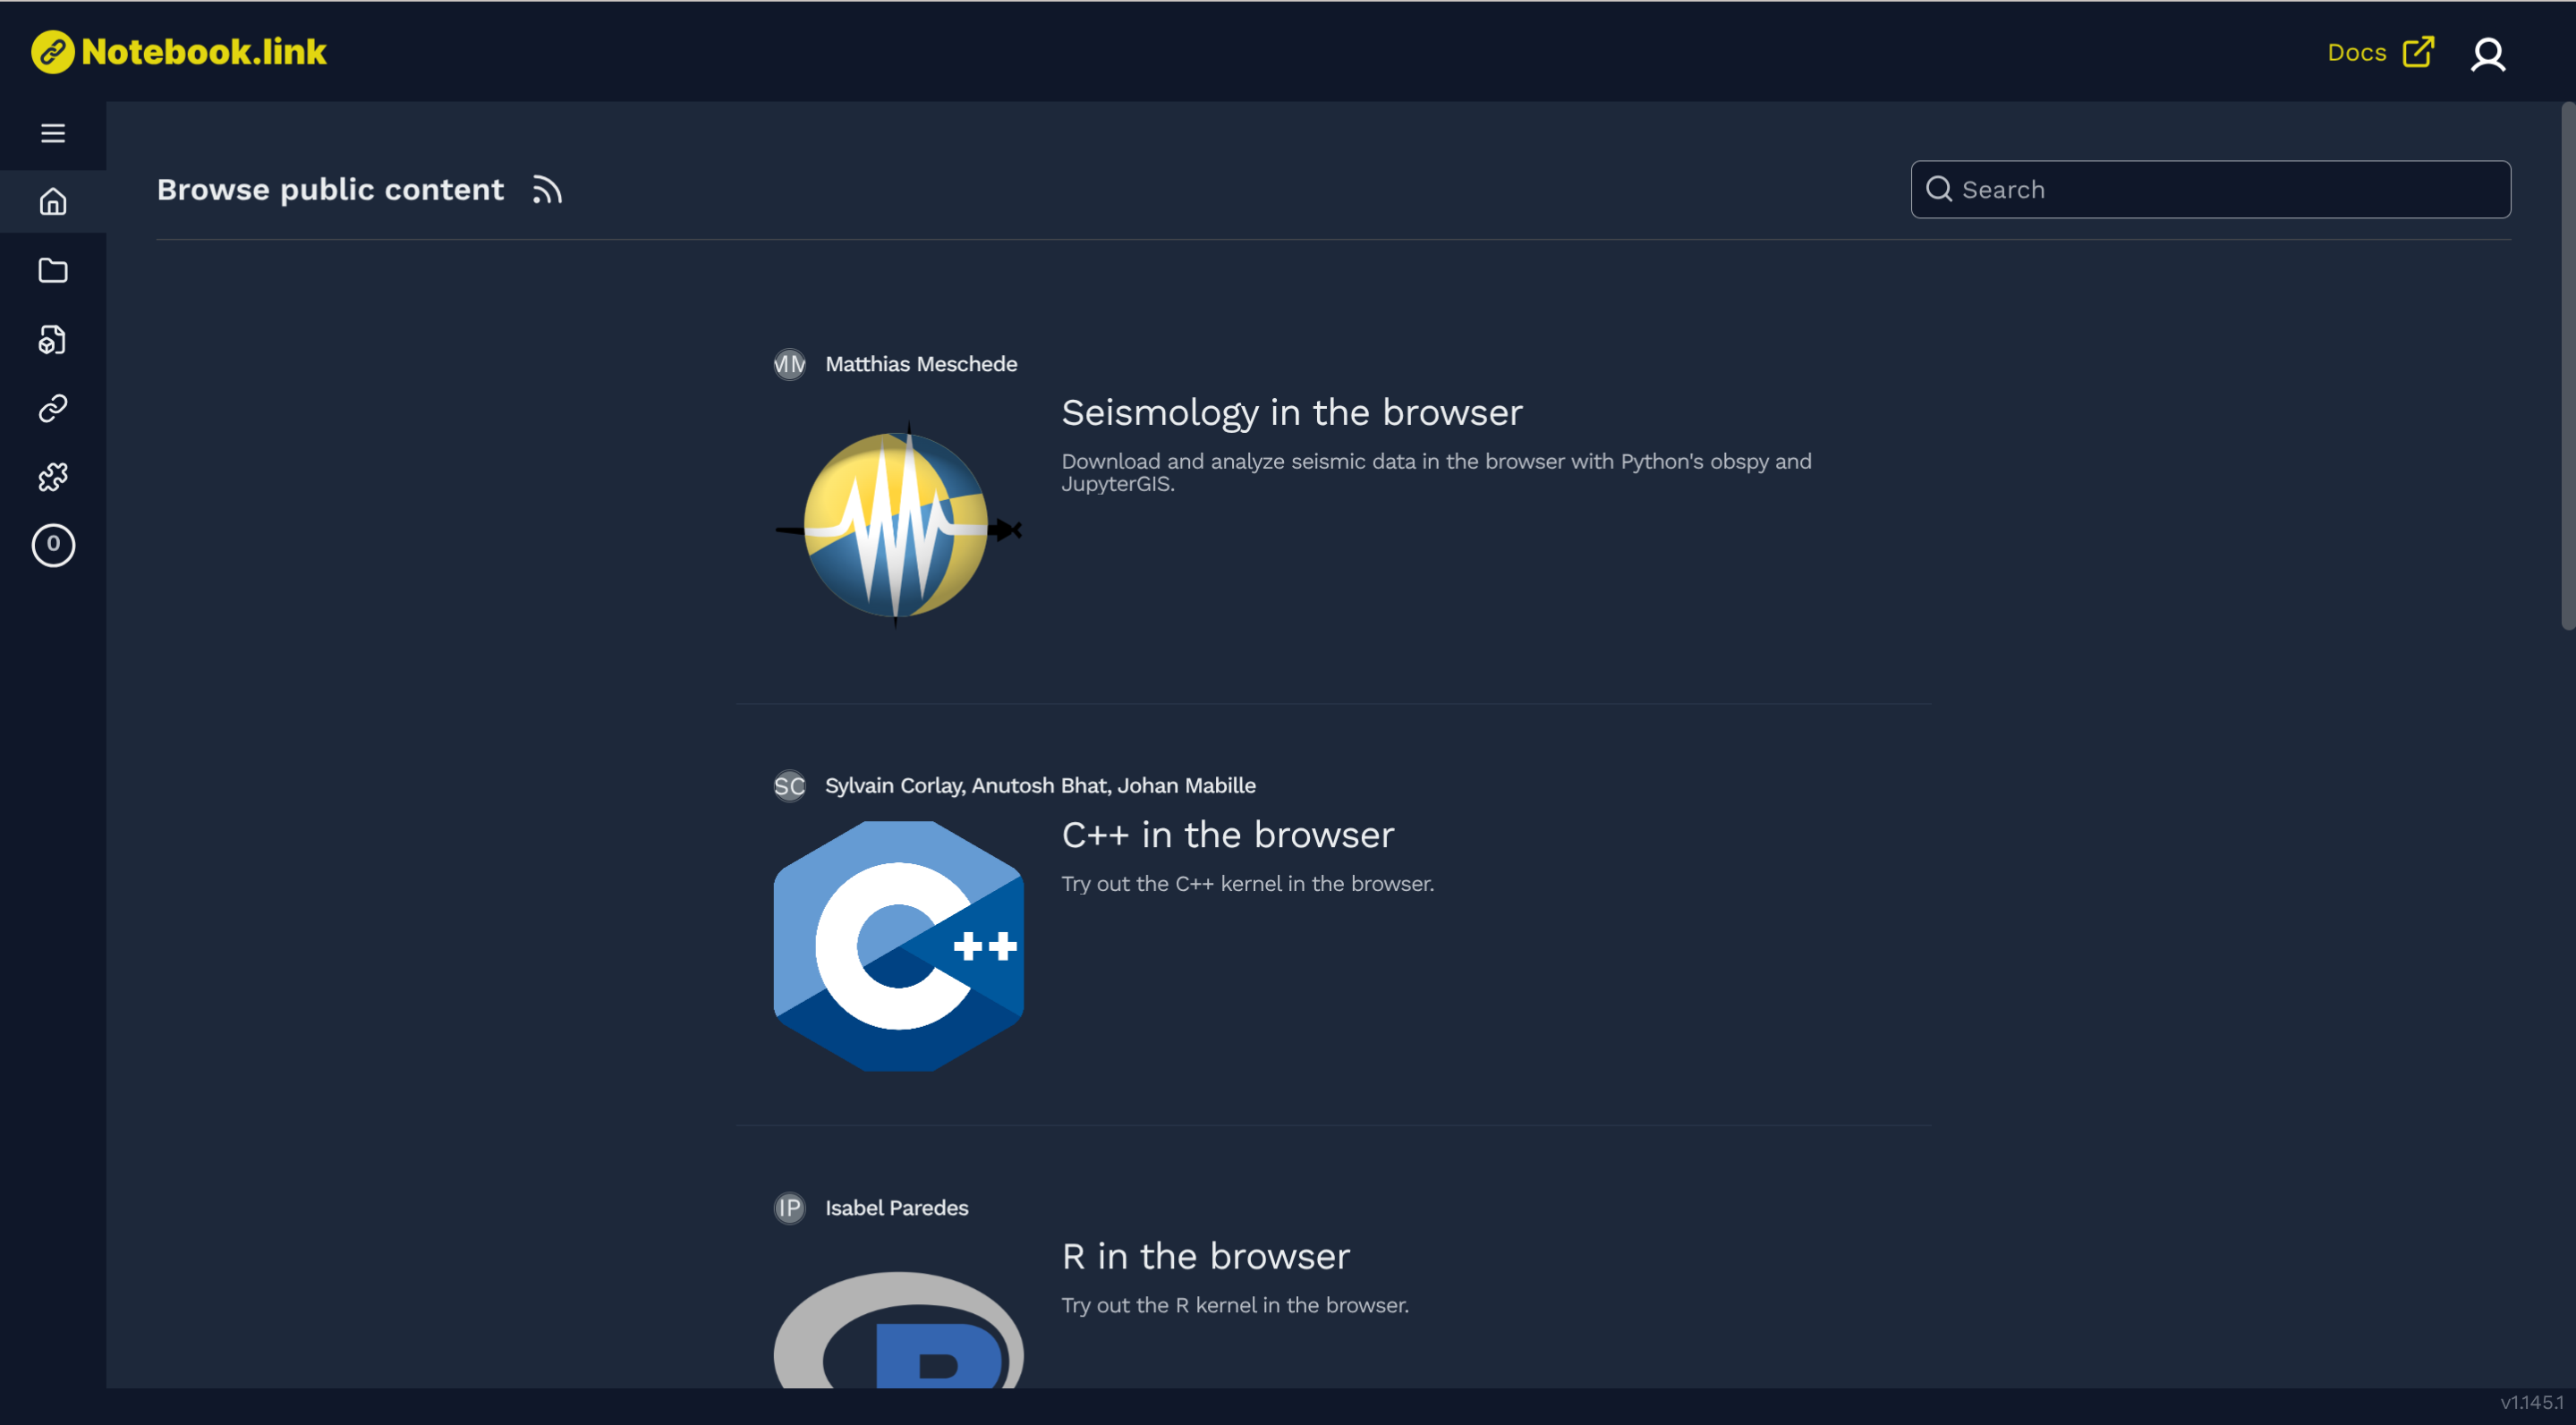
If you’re already signed in, you can click My Dashboard on the website to go directly to the home page. You land on a page displaying a list of various example content items. The left sidebar contains navigation buttons for accessing the following pages:
- Projects
- Environments
- Links
- Add-ons
- Storage
The navigation bar also links to Documentation and Account pages.
Projects
Projects page
The projects page contains the different projects displayed by cards or by list
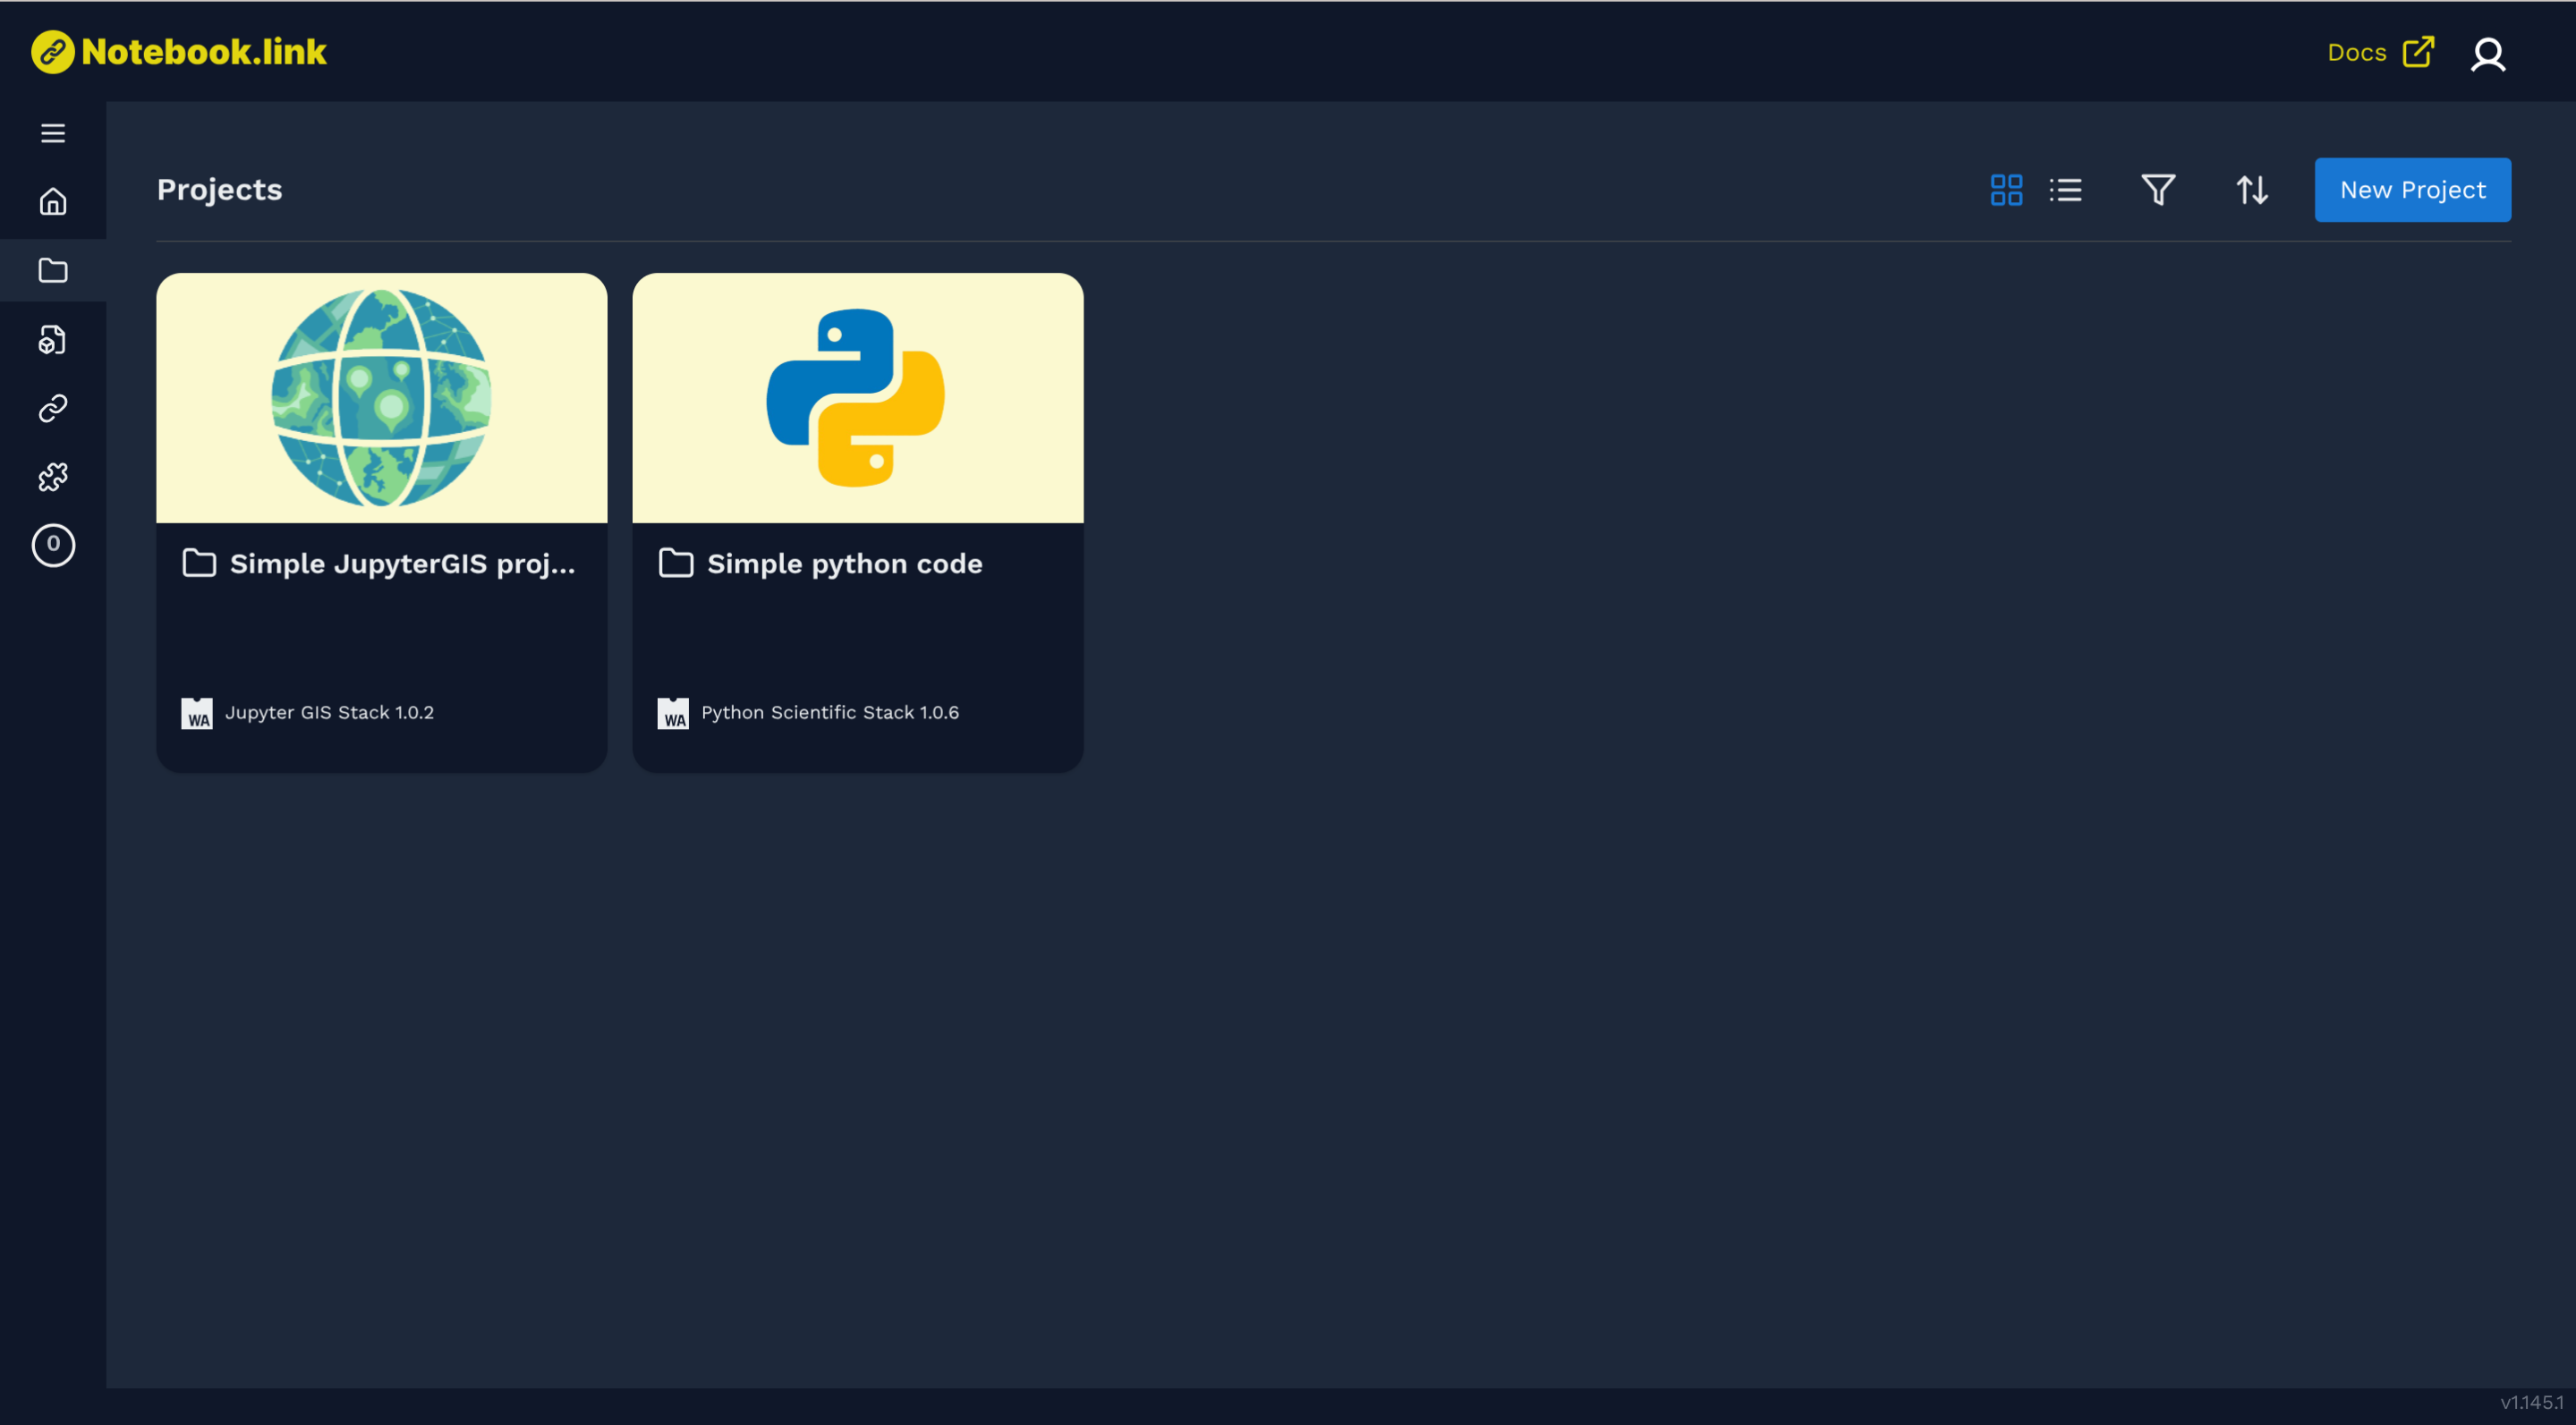
Project card
On hovering the card, you can launch the project, edit, or delete it.
Create project page
You can access this page from the projects page by clicking the New Project button. It contains the following form:
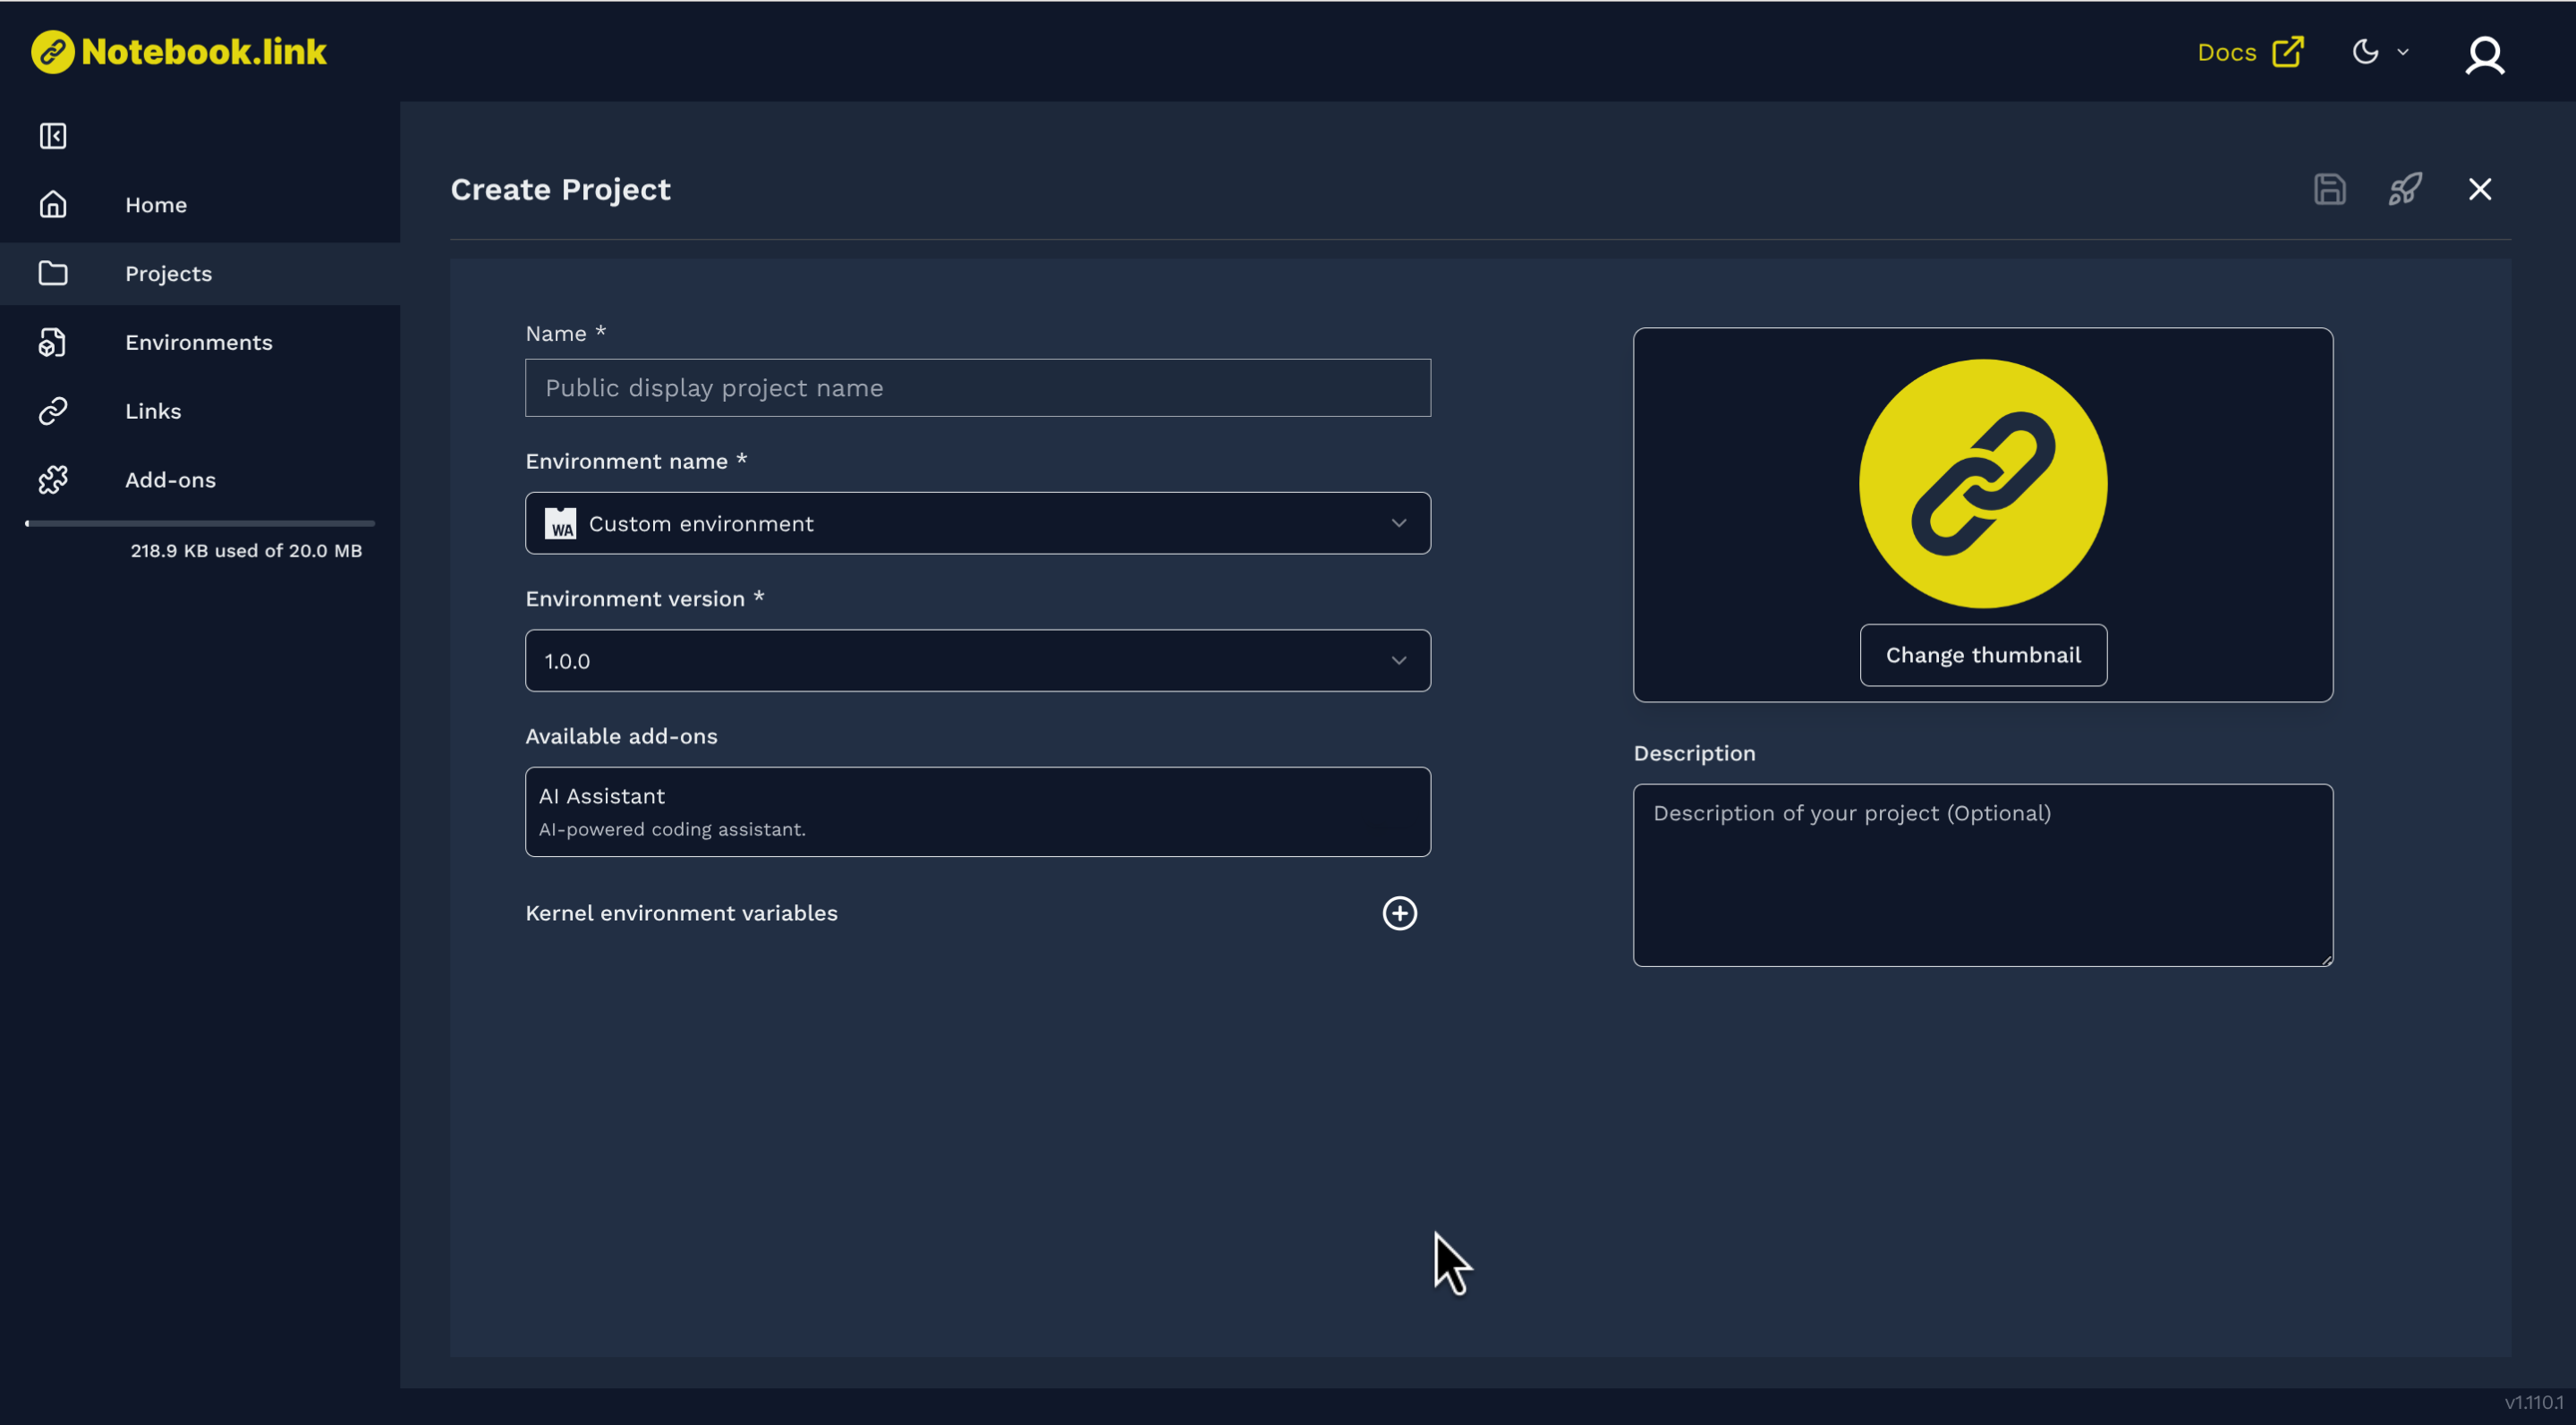
For more details, see the Create a new project section, which explains how to create a new project.
Environments
Environments page
The environments page displays your environments either as cards or in a list.
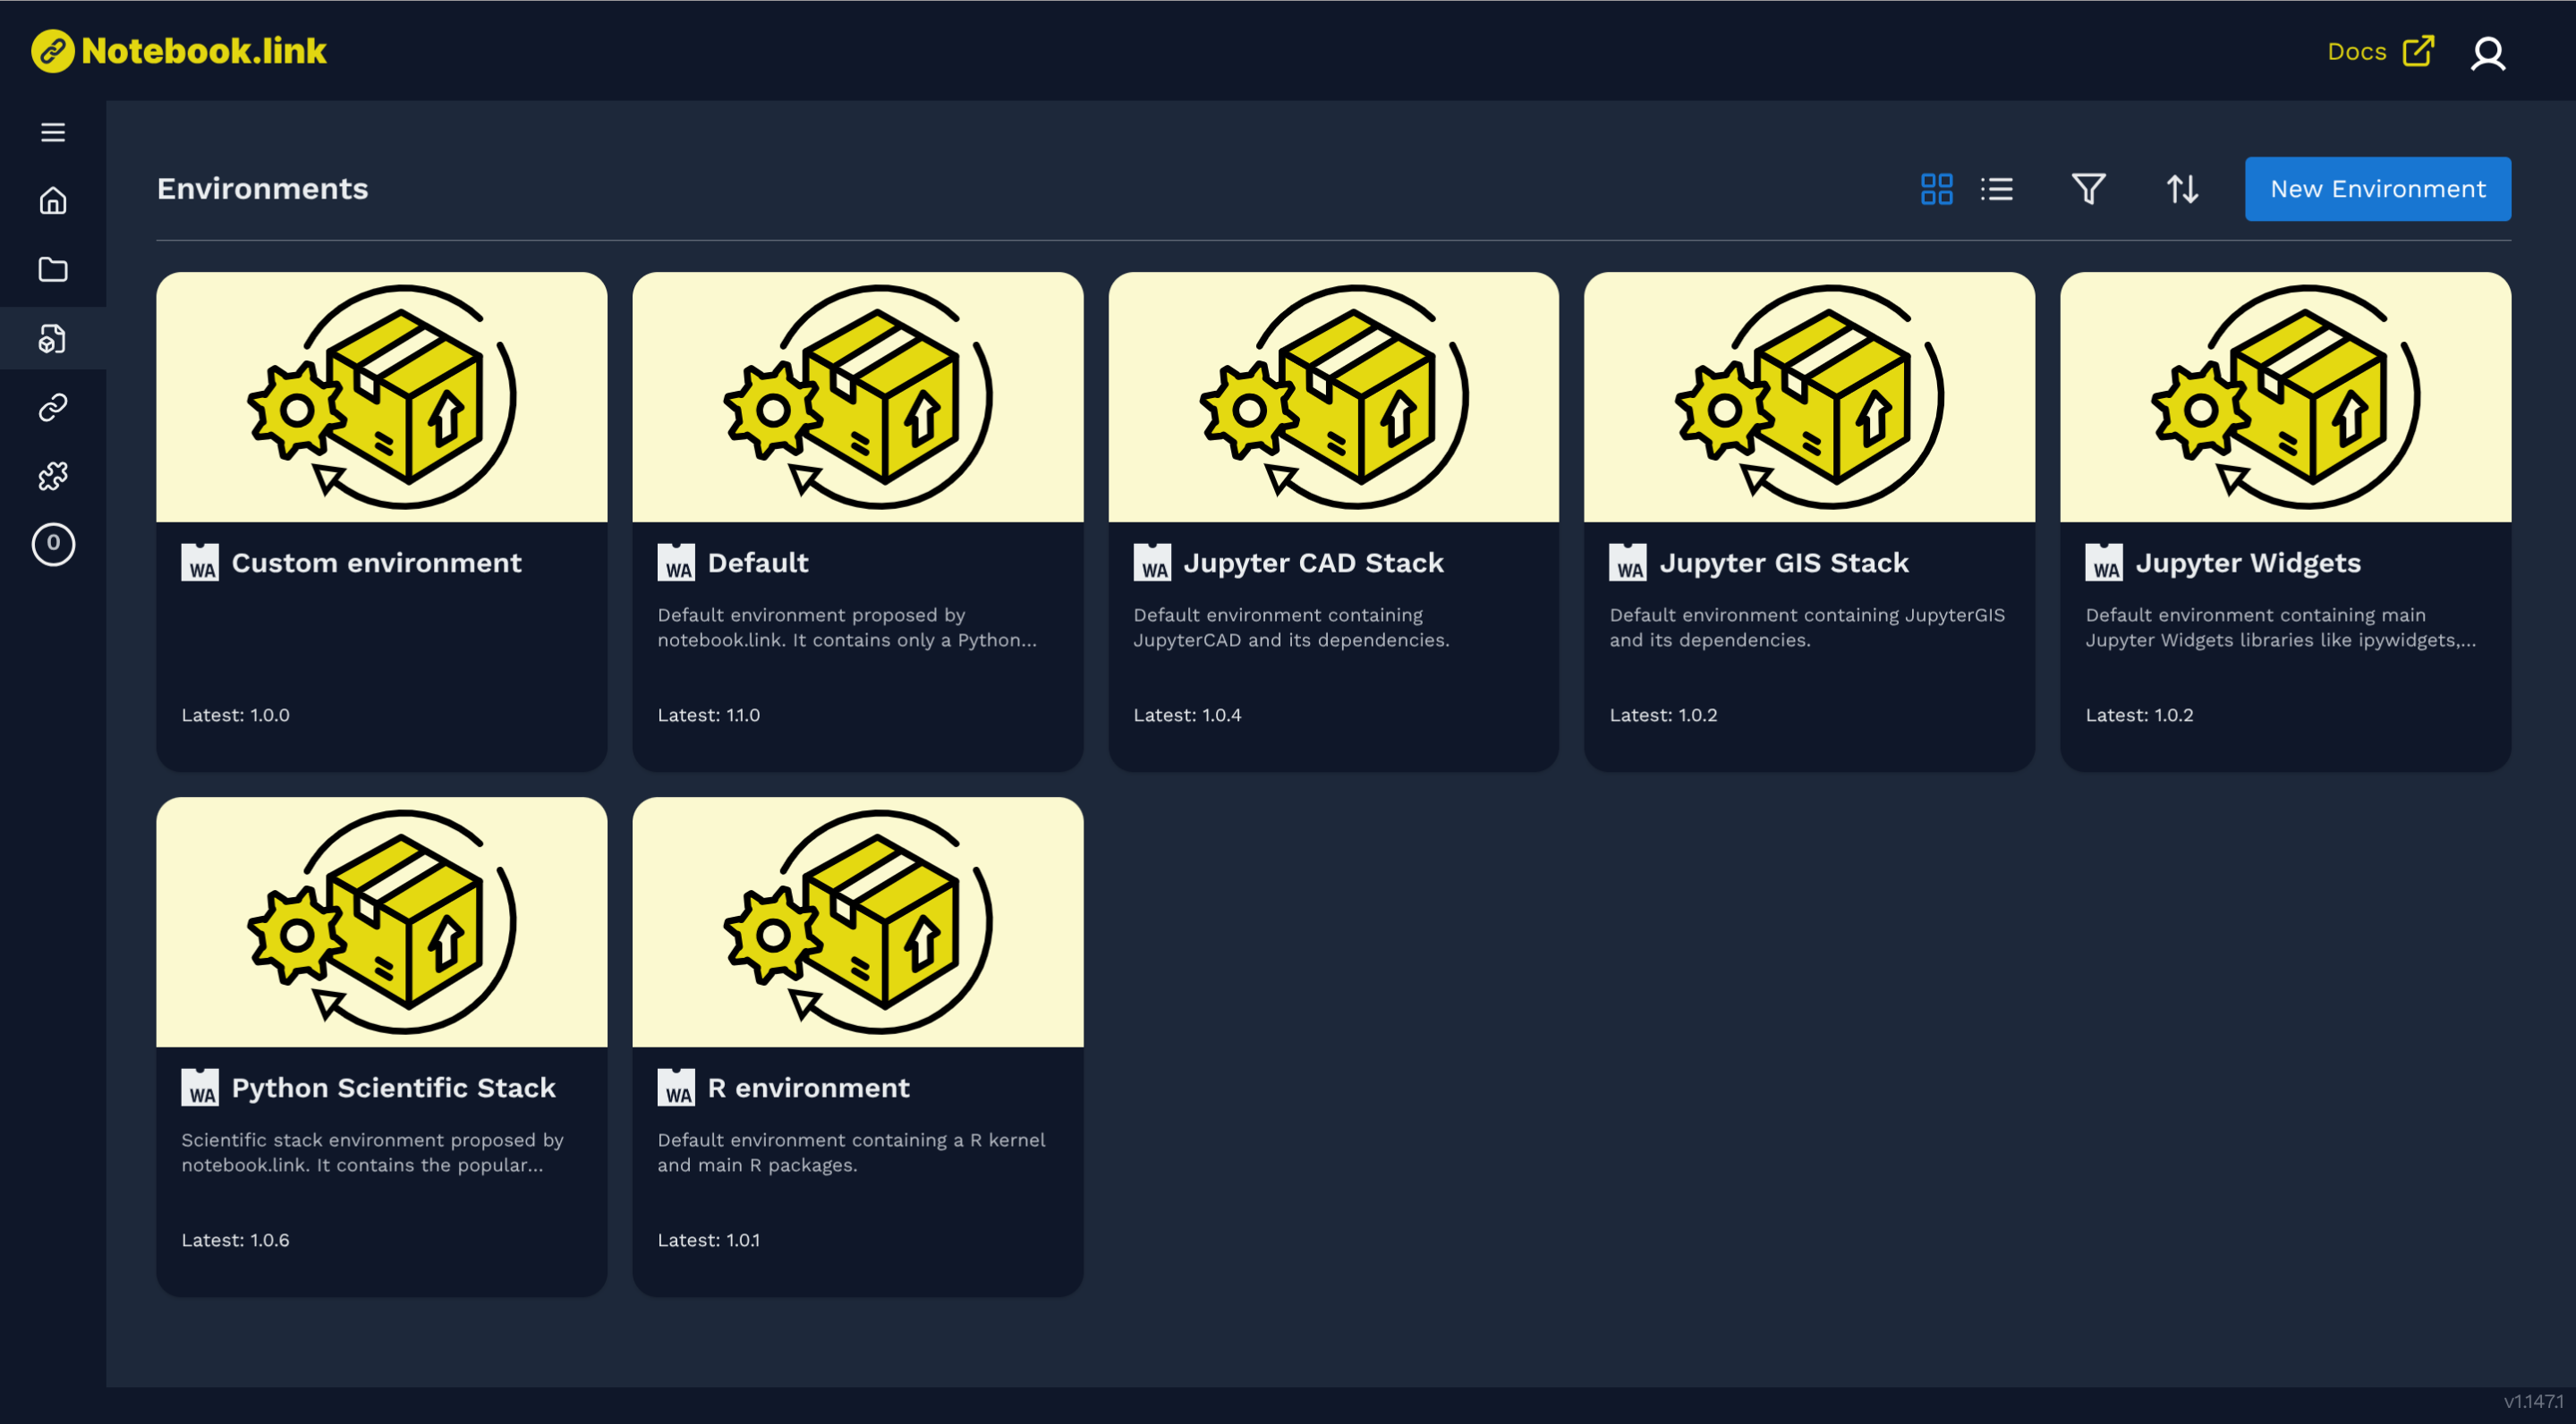
Environment card
For pre-defined environments proposed by Notebook.link, on hovering over the card lets you either connect to a project or view the environment’s details.
For a custom environment, you can also edit or delete the environment in addition to connecting to a project.
Create Environment page
This page is opened from the environments page when you click the New Environment button.
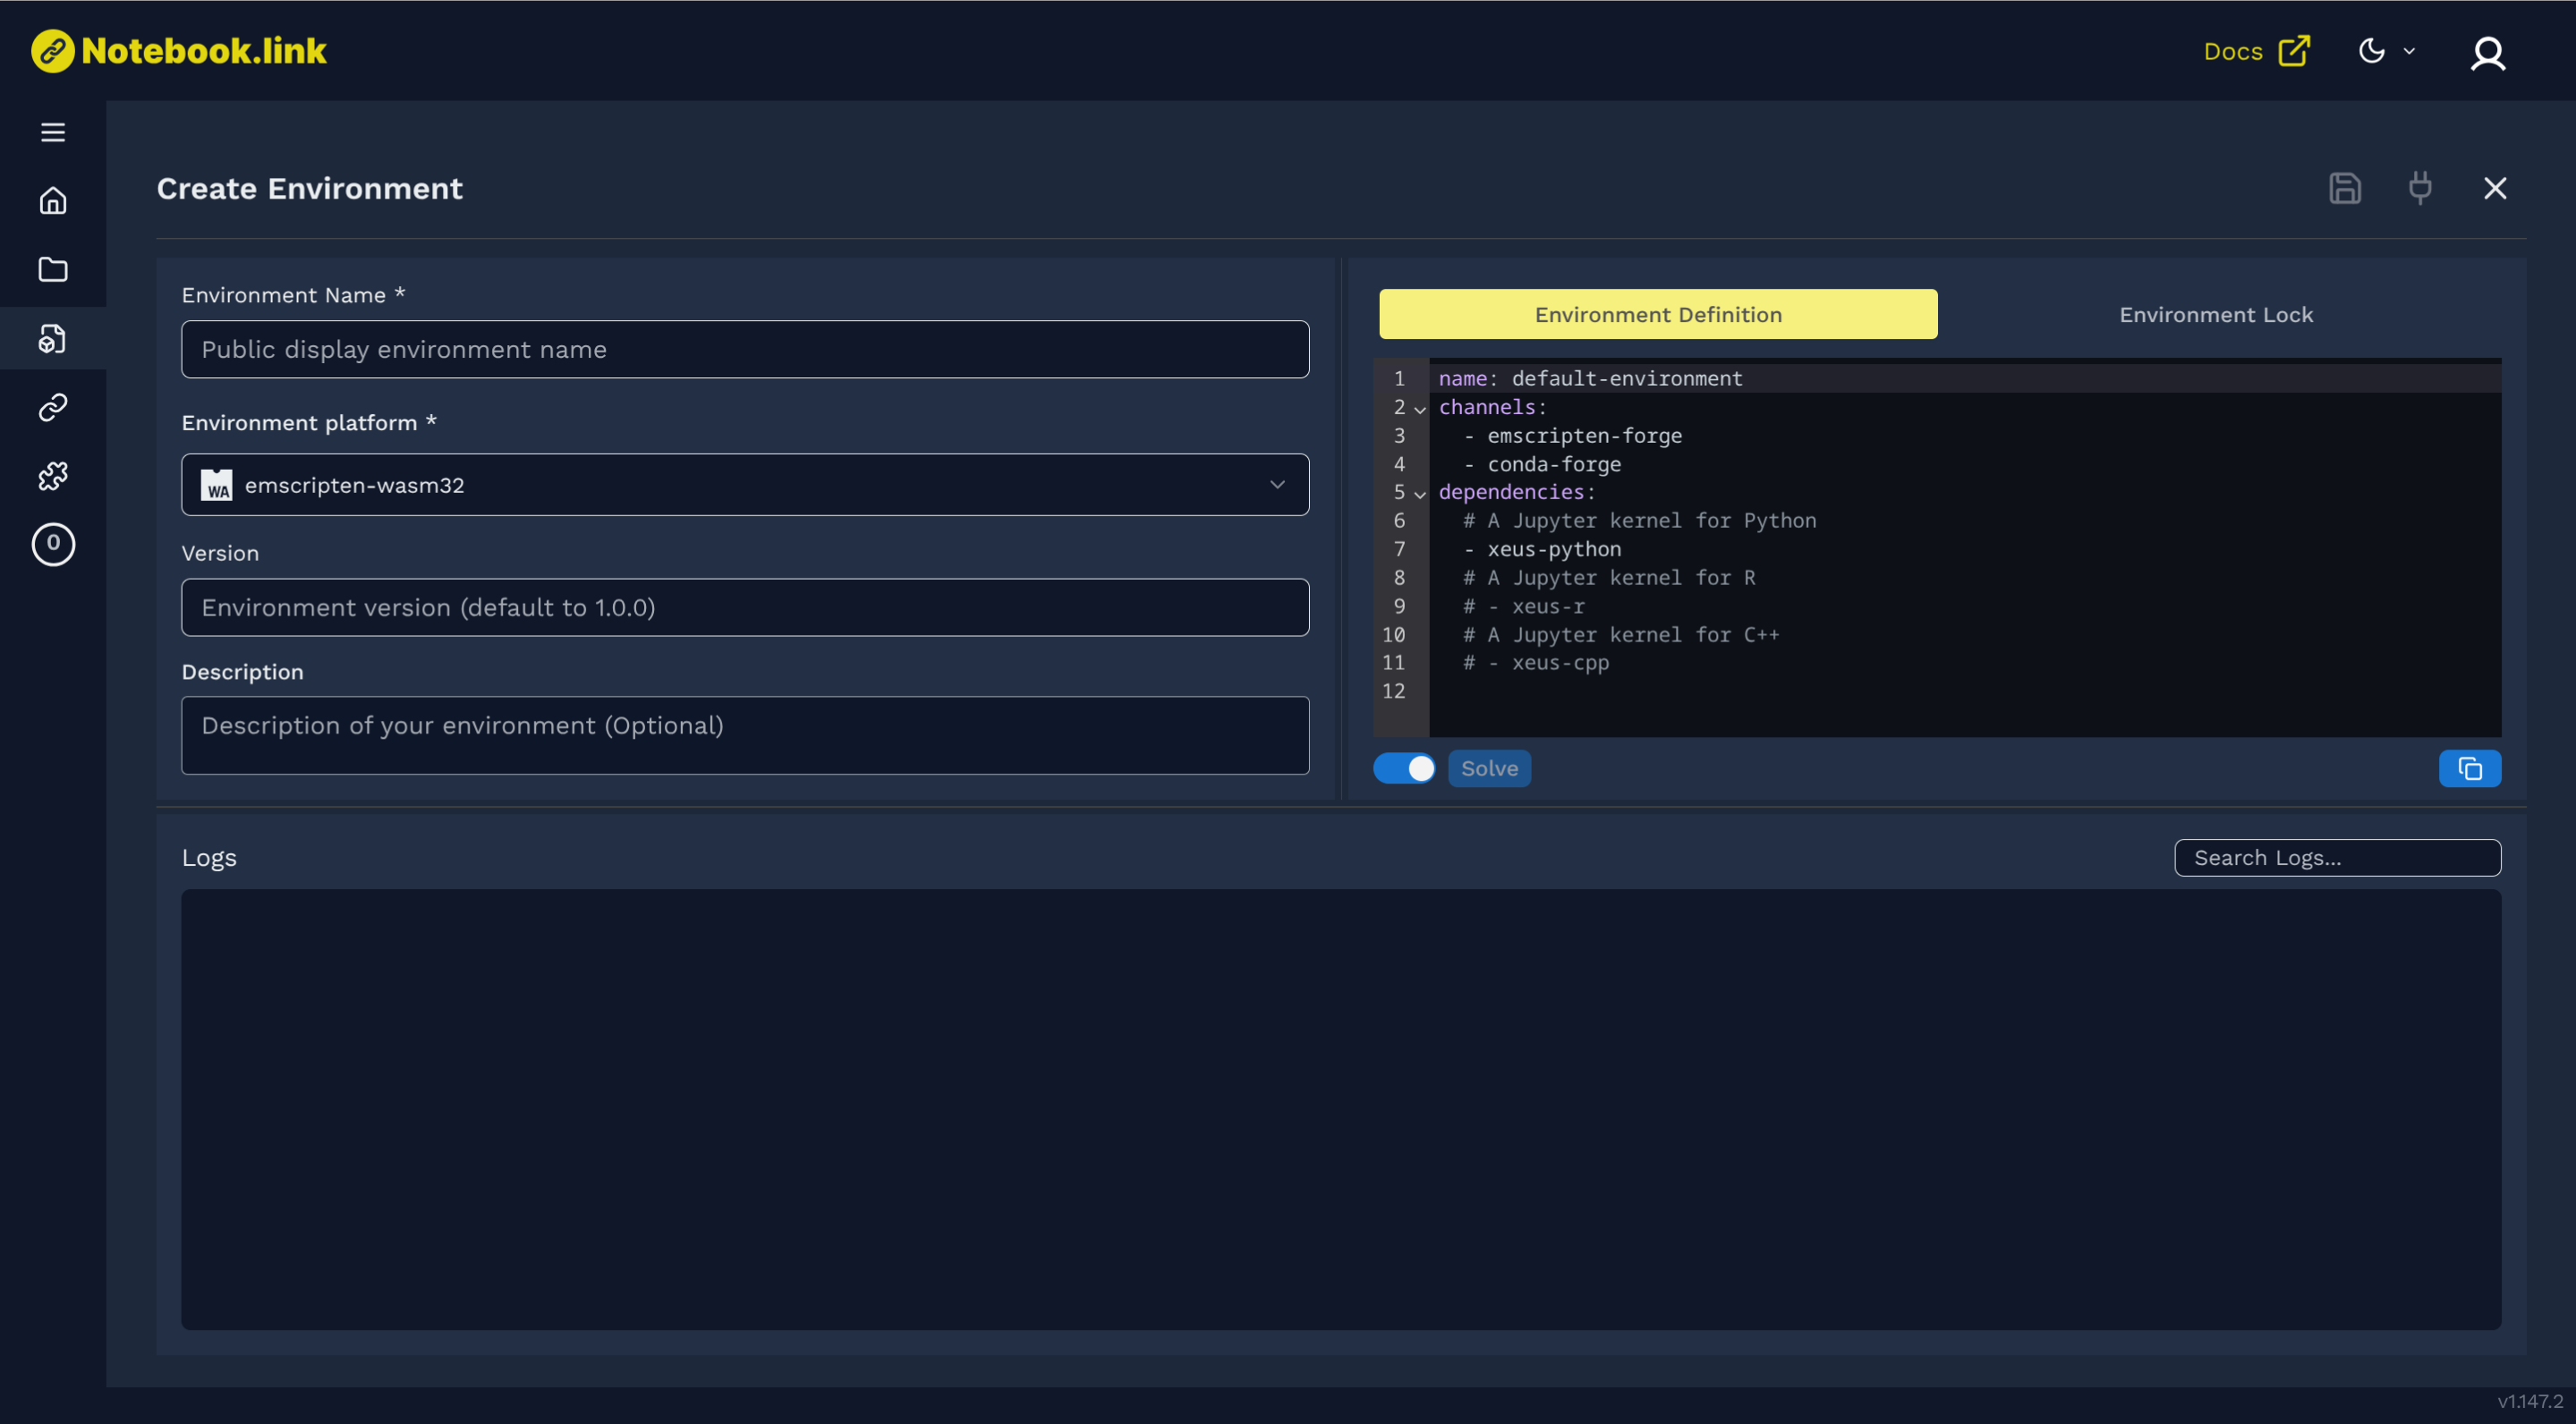 You can find more details on the dedicated section explaining how to create a new environment (See Create a new environment section)
Links
To share a specific project or file, generate a link by clicking the link icon in the left sidebar menu. This will open the links page.
Links page

The links page contains a table listing the already available links, with for each of them:
- a button to copy the url of the link
- the name of the link
- the source
- the creation date
- the number of views
- the possibility to create a badge
- a 3 dots contextual menu to either edit or delete the link
New Link page
For more details on link creation, refer to the New Link of this documentation.
Add-ons
Add-ons page
The Add-ons page contains the different add-ons displayed by cards or by list.
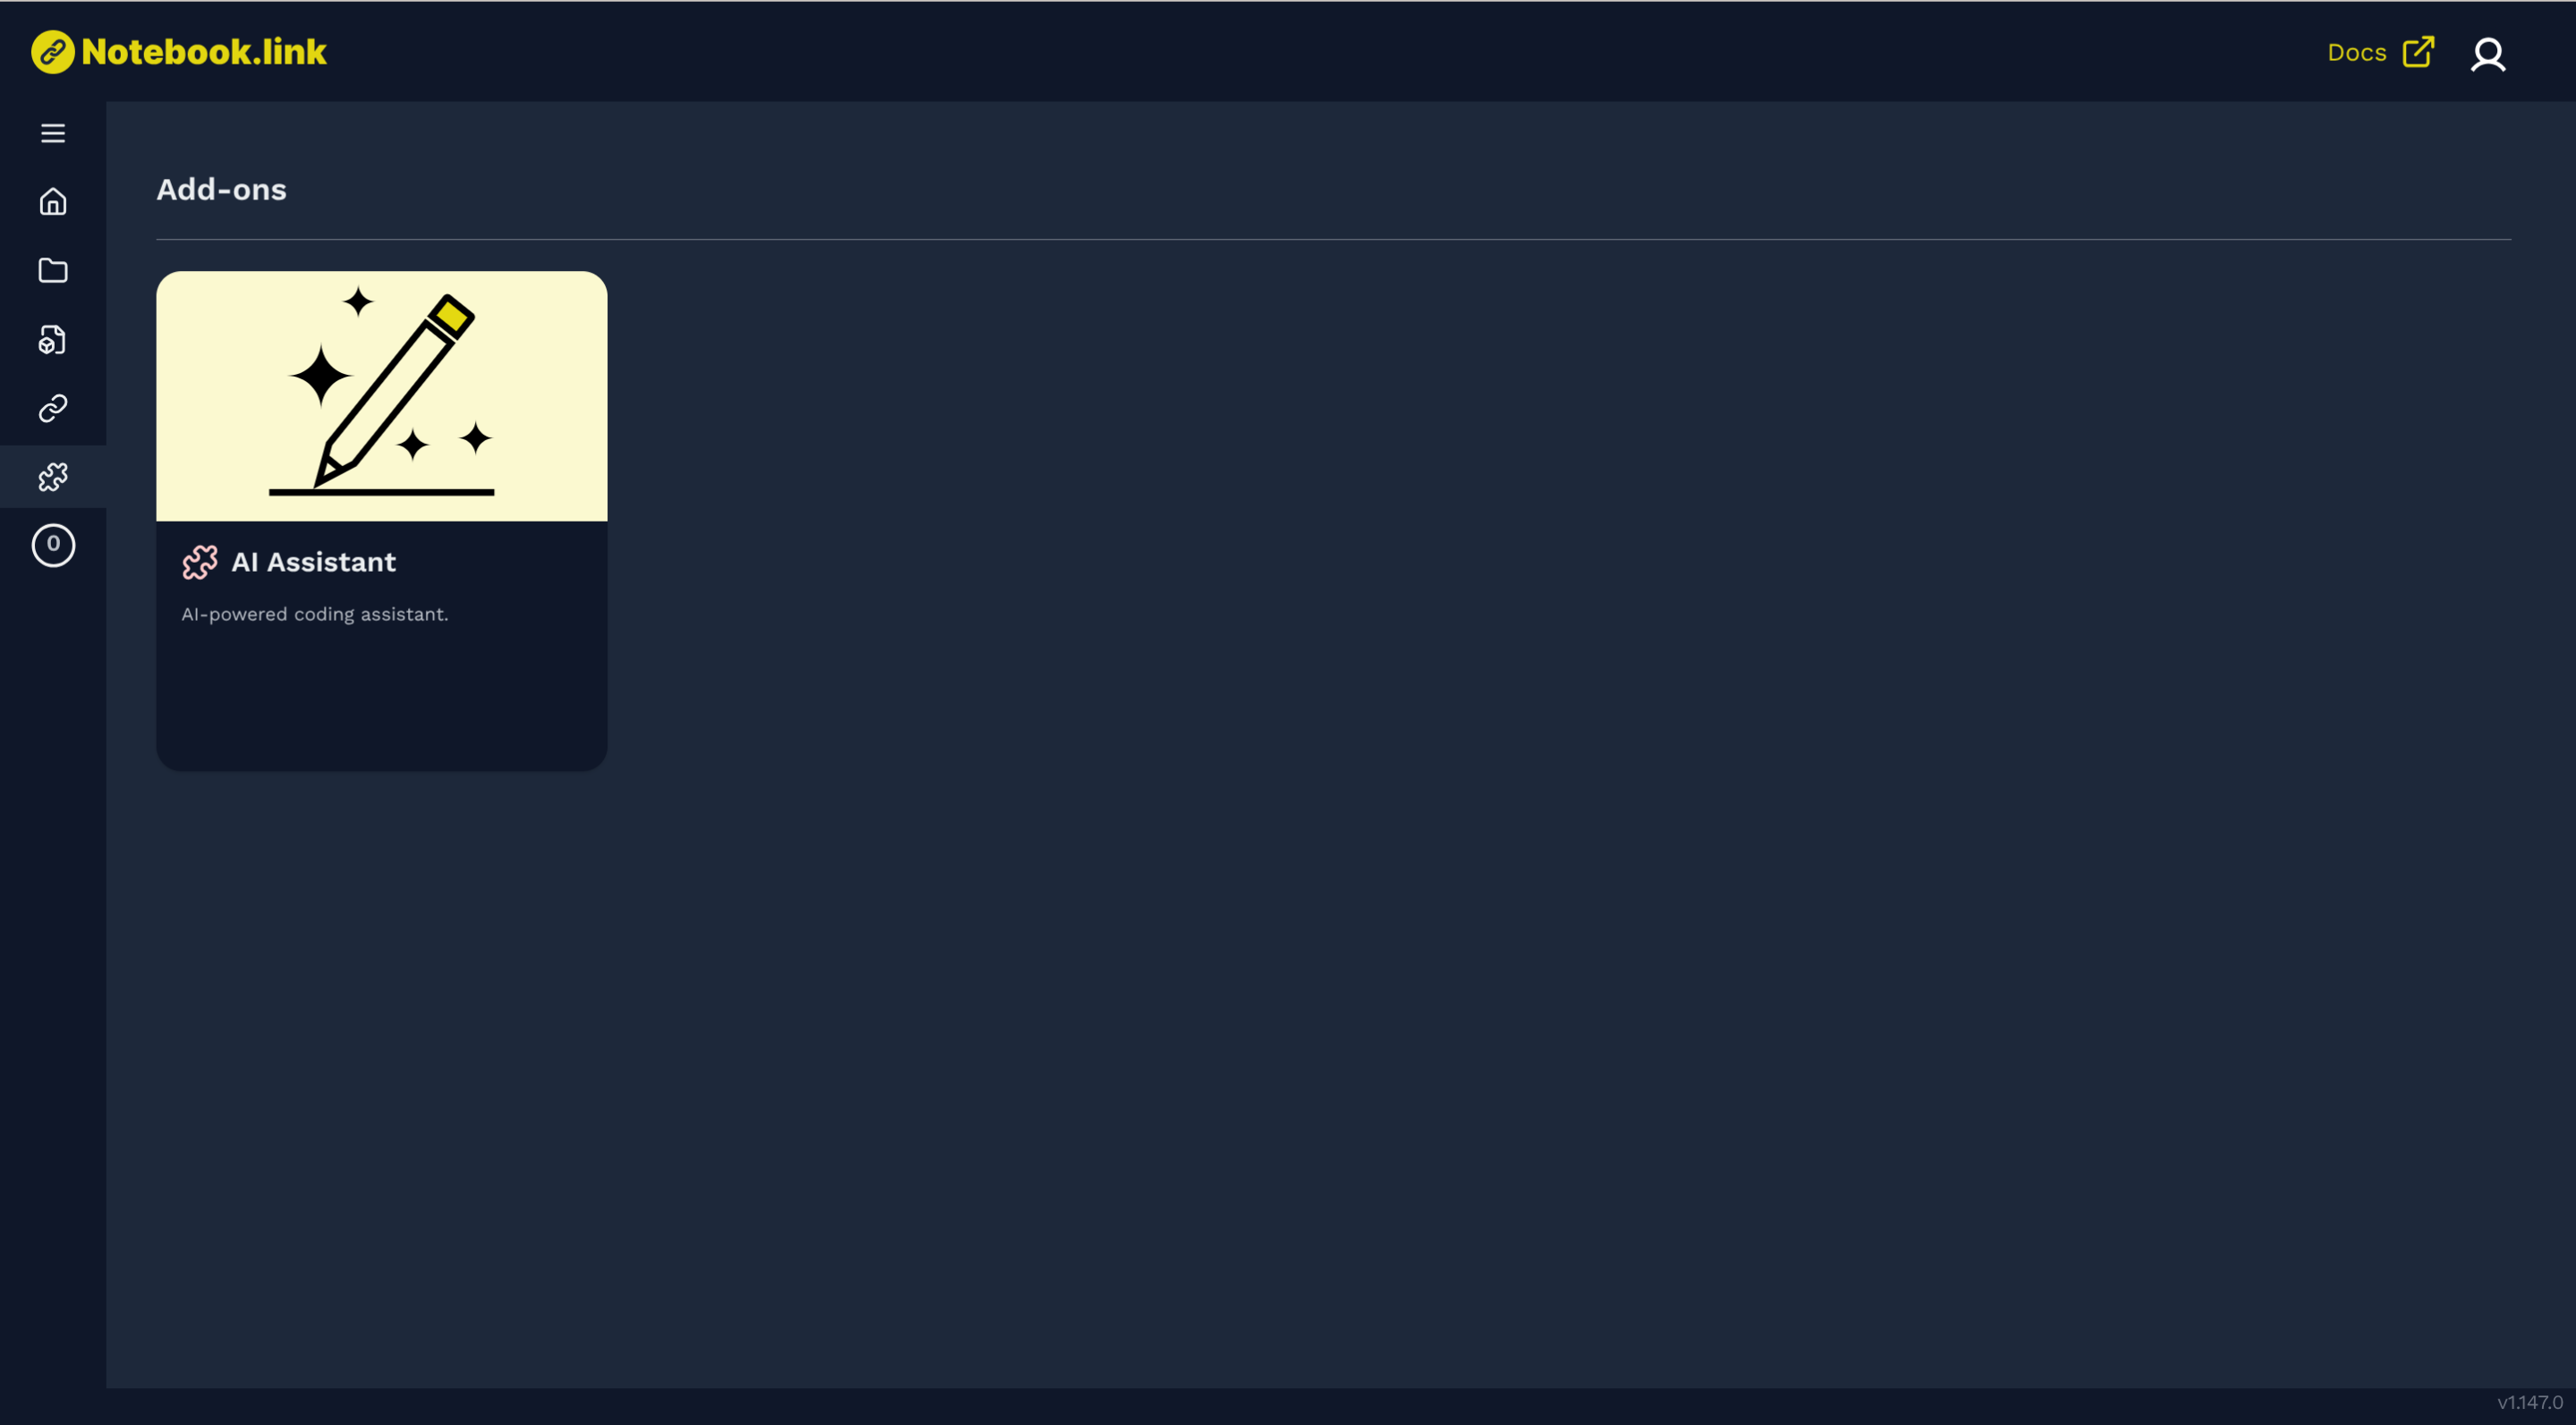
Add-on card
When the add-on is configured, the small puzzle icon is green.
For an incompletely configured add-on, the puzzle icon is red.
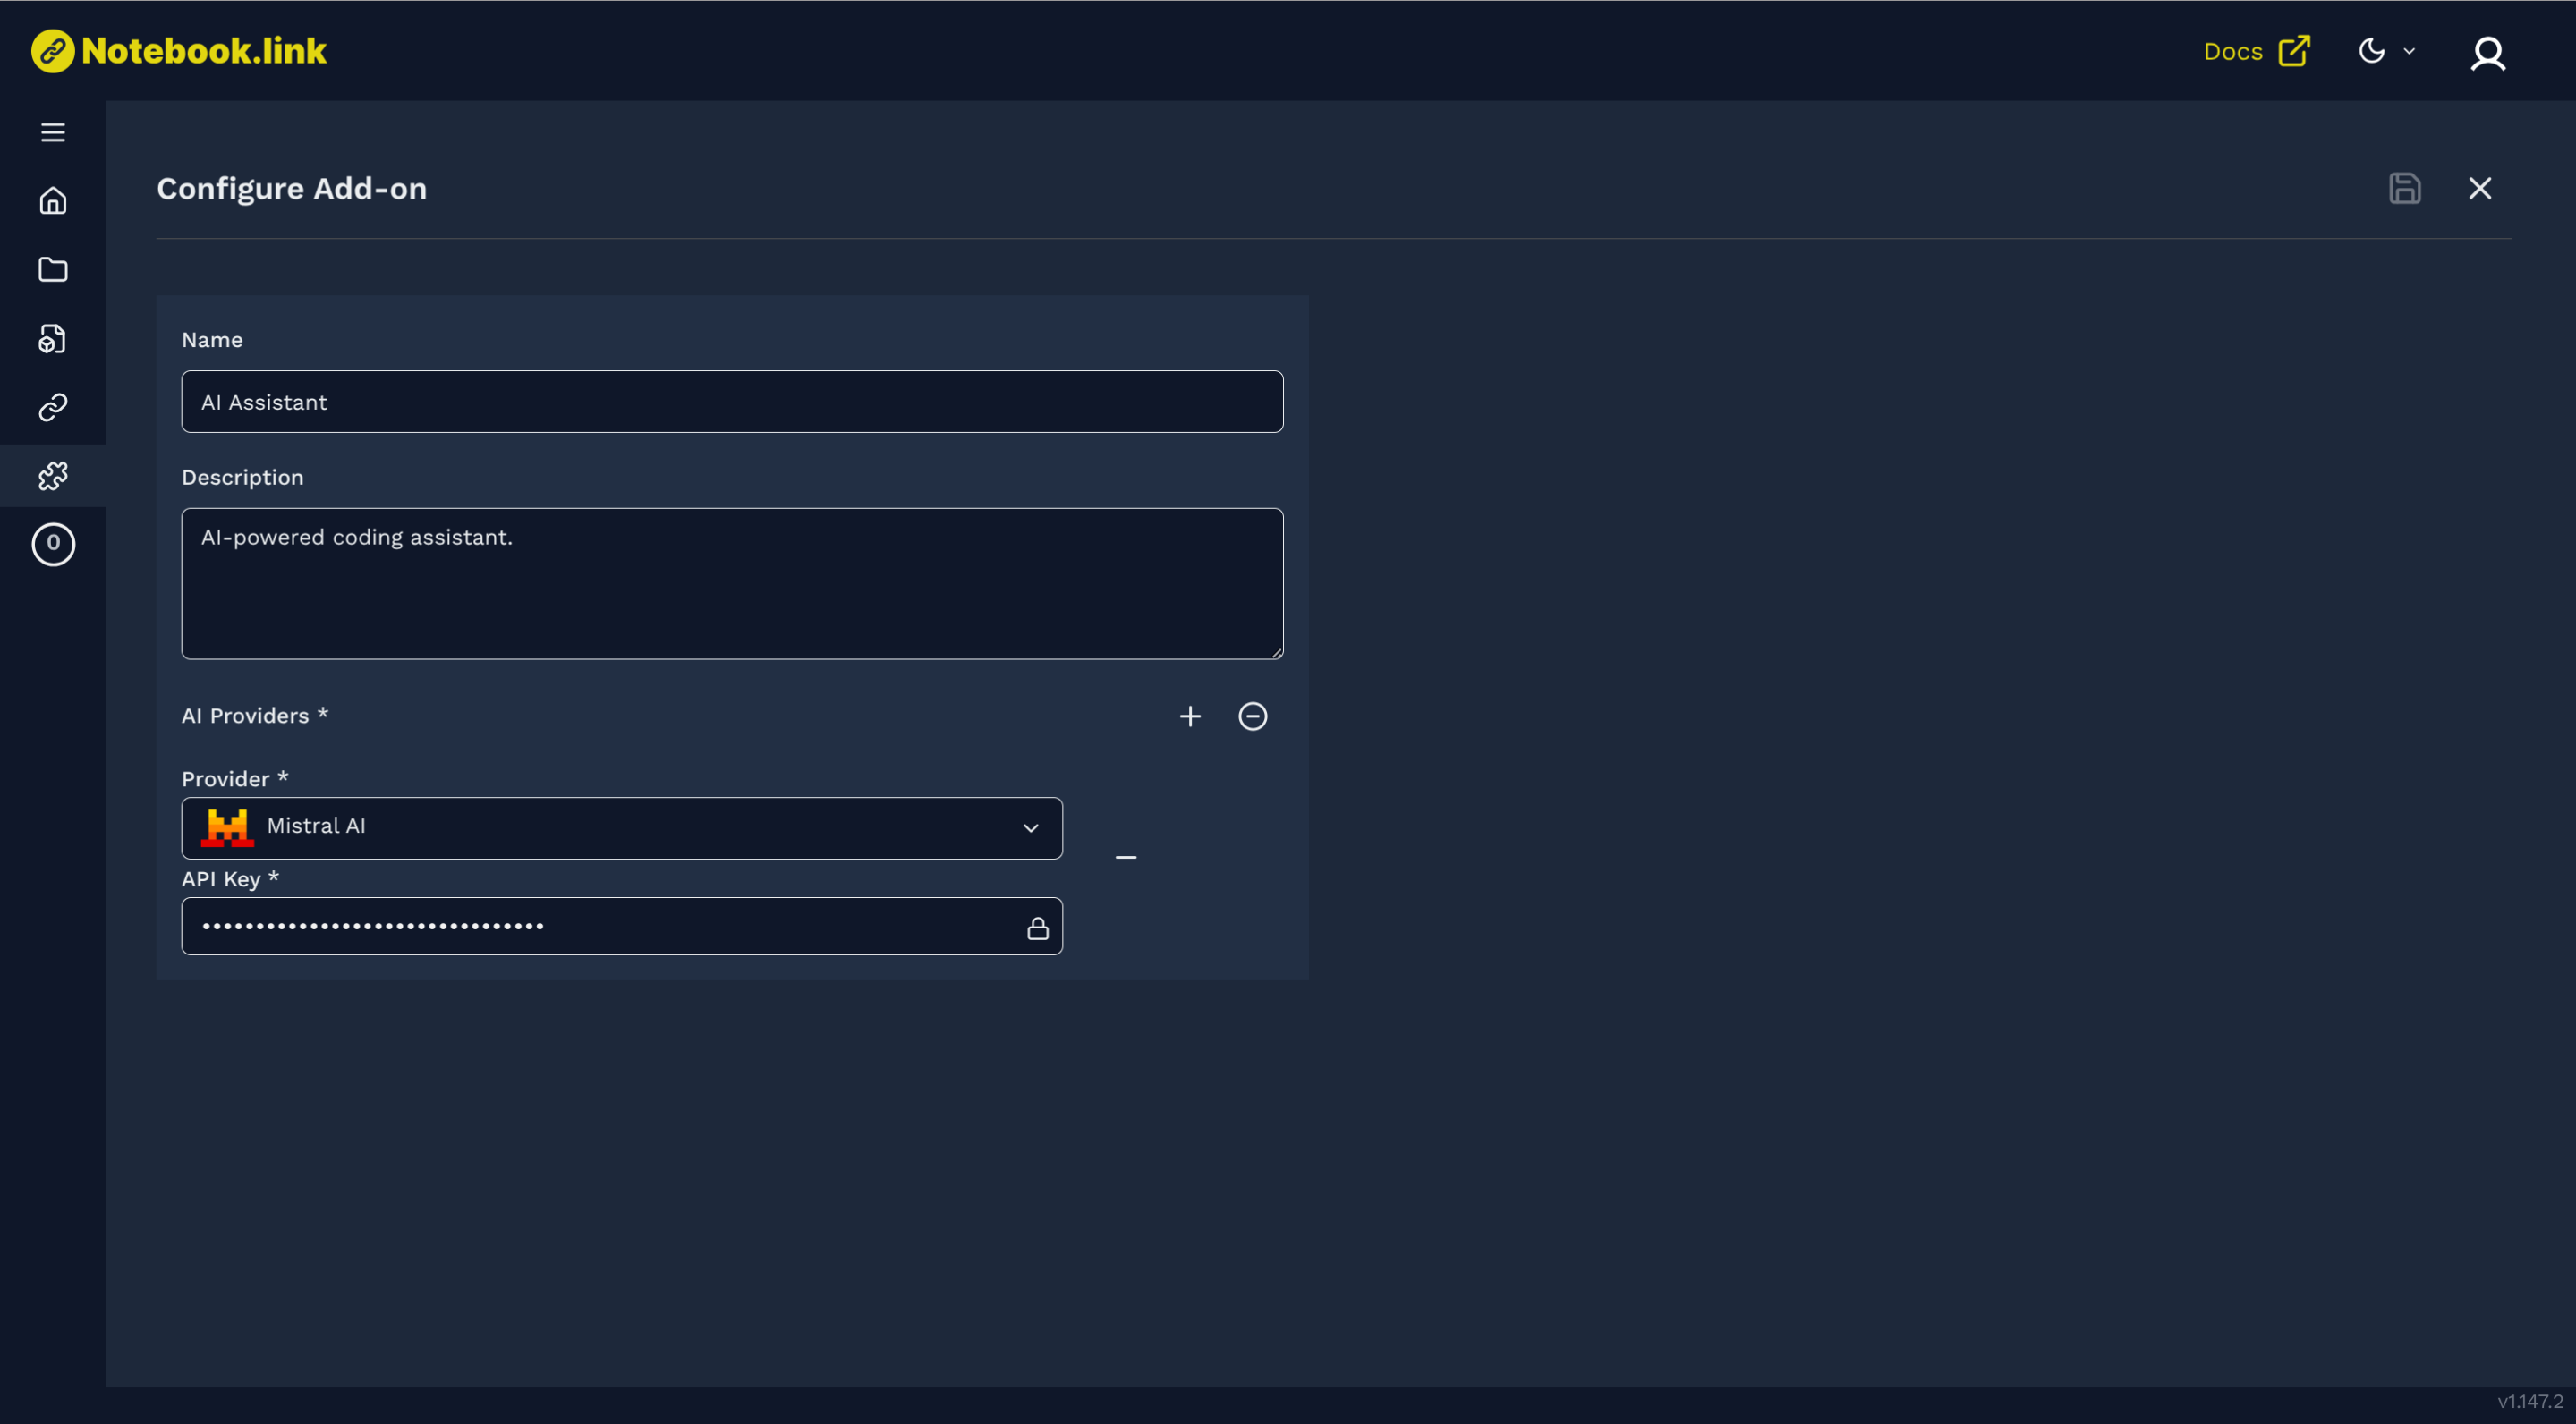
Configure Add-on page
Configure Add-on form: example of the AI add-on
The AI add-on configuration page contains a form with:
- an input with the name of the add-on
- an input for the description
- a
+button to add an AI provider: you can select a provider amongChatGPT,Mistral AIandAnthropicand give an API key inside the dedicated input
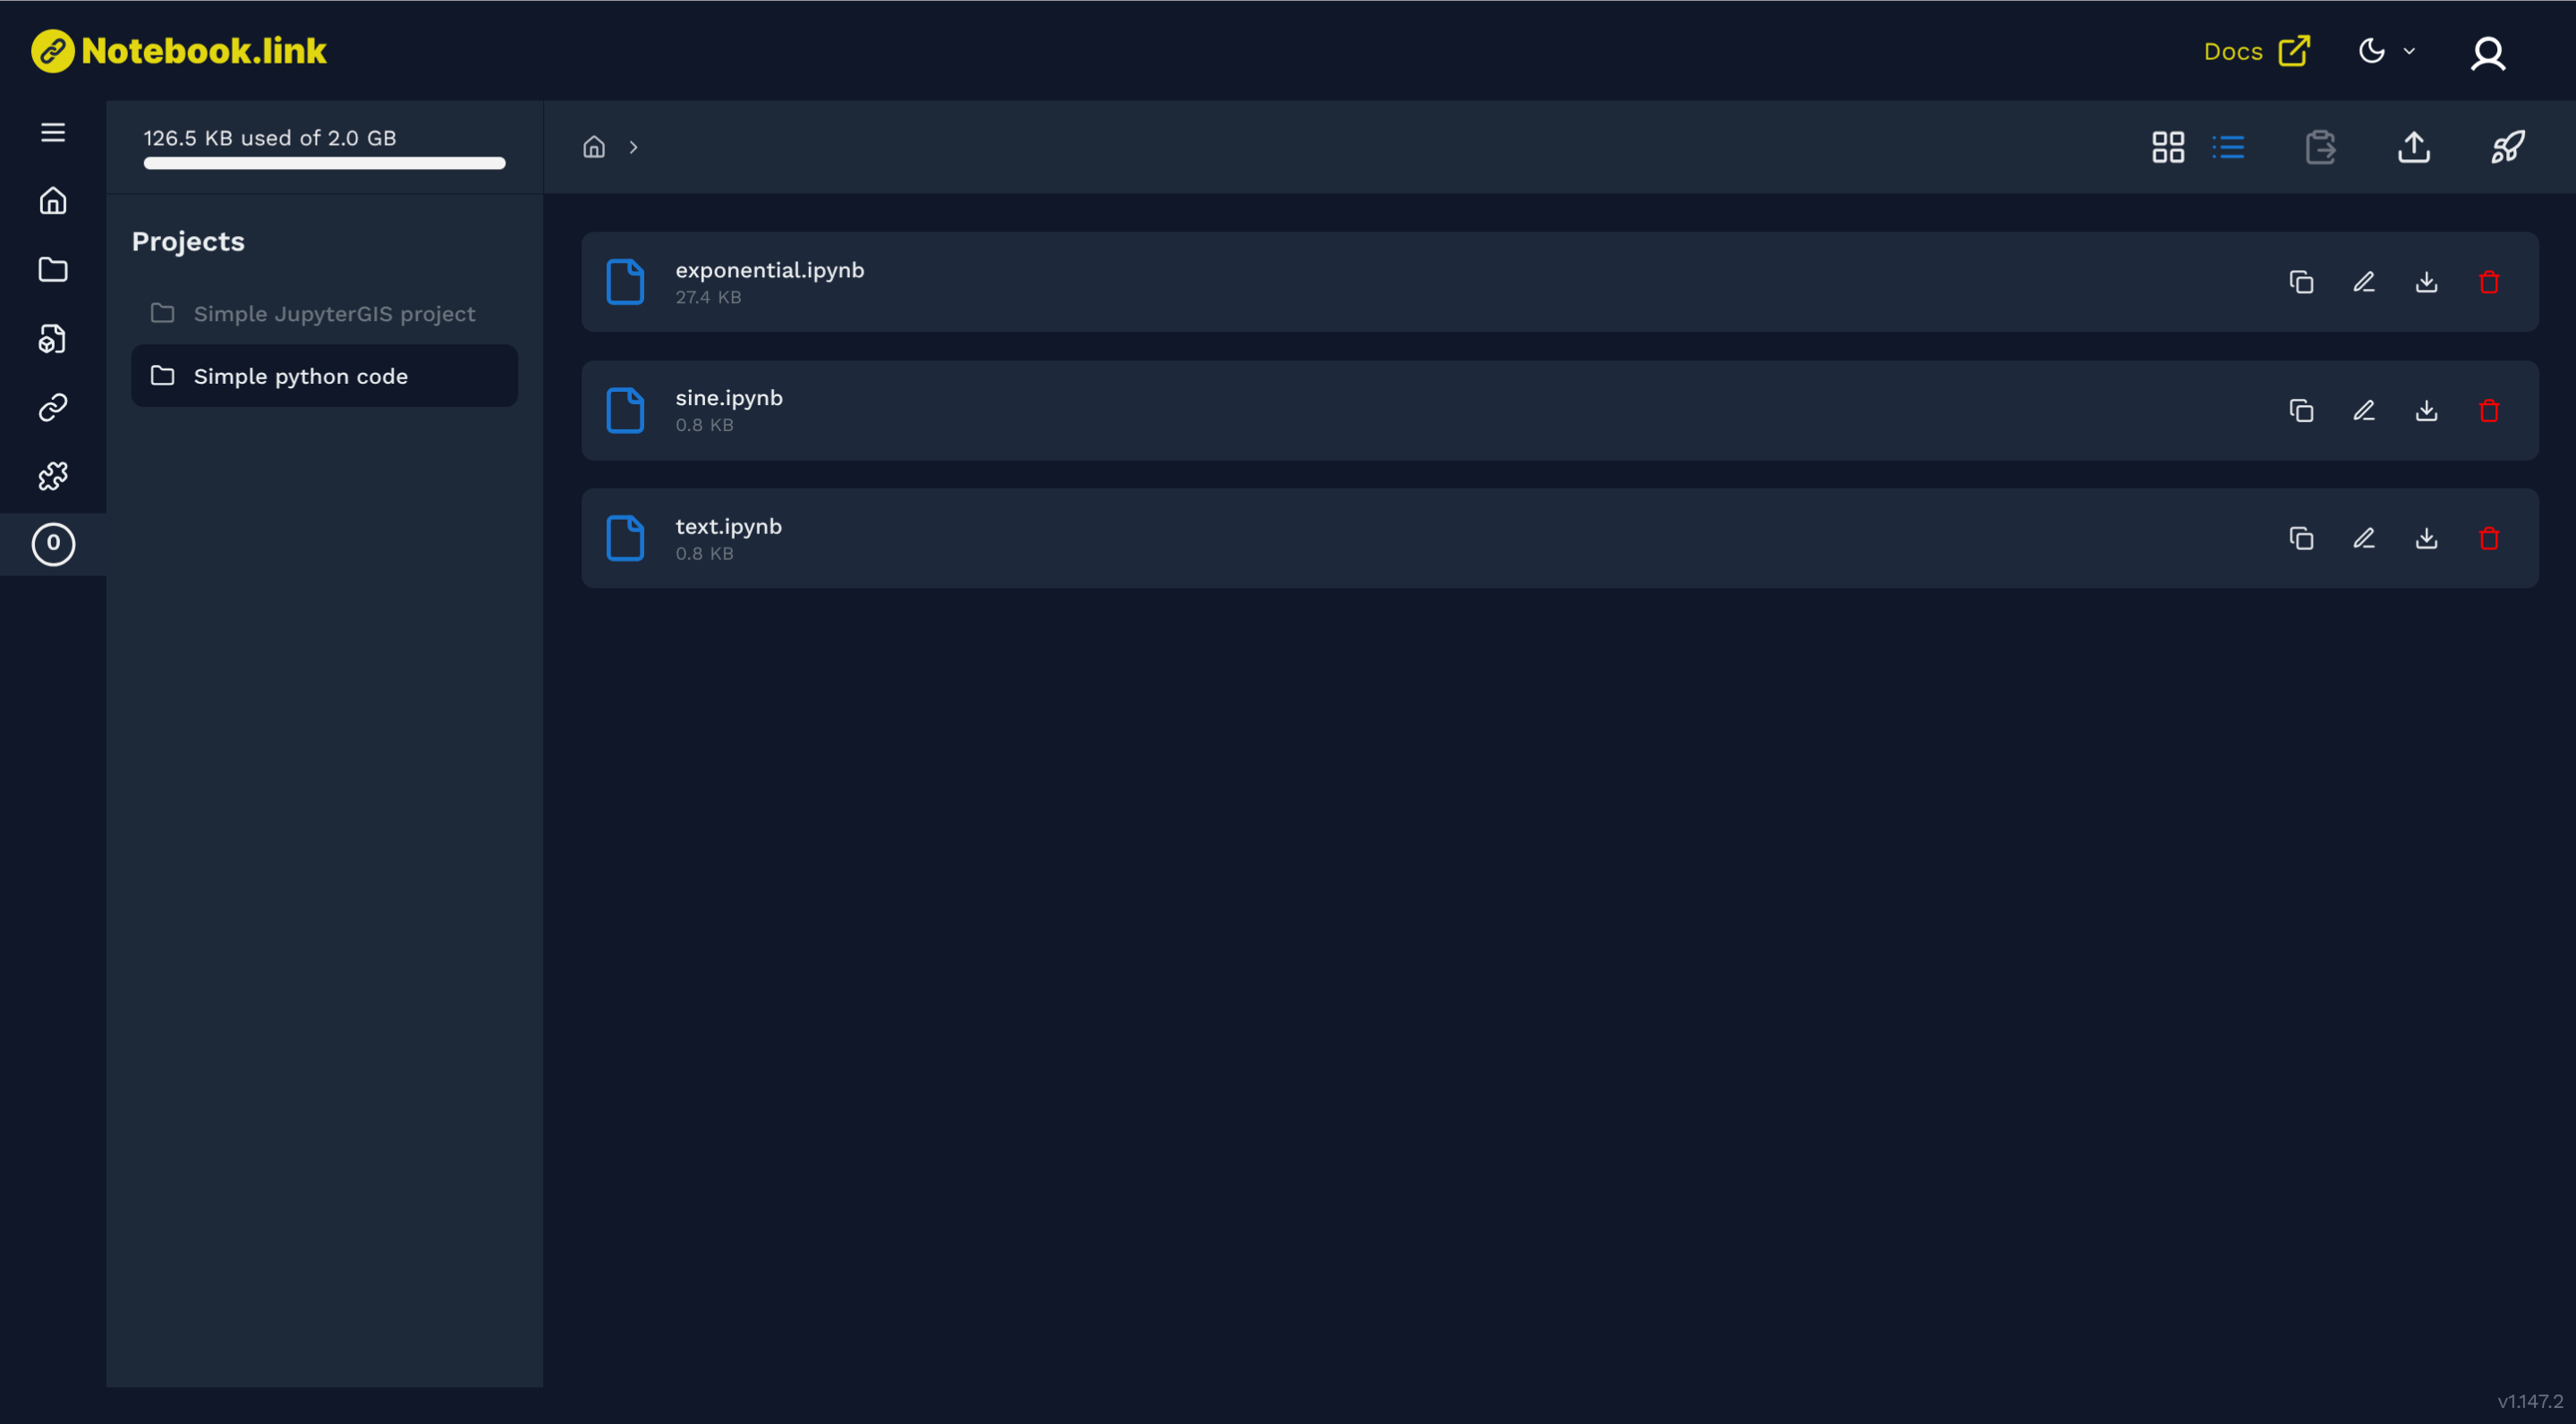
Storage
The User Storage page displays all project files along with their respective sizes. Users can view files in either list or card format. The interface also supports file uploads and provides a rocket button to launch the current project. Each file includes a set of action buttons for copying, renaming, downloading, or deleting operations